Plans guide
This guide shows you step by step how to draw a house in 2D and 3D with Plans, for free. It follows a complete example: a 10 × 8 m house on two floors, with its rooms, furniture and roof.
Open Plans at art-construction.ch/plans/editeur. Without an account, your plans stay in your browser. With your Art Construction account (“Sign in” button), they are saved on our server in Switzerland. All pictures come from the current version of Plans, with a demo account.
1. Create a project
1My plans
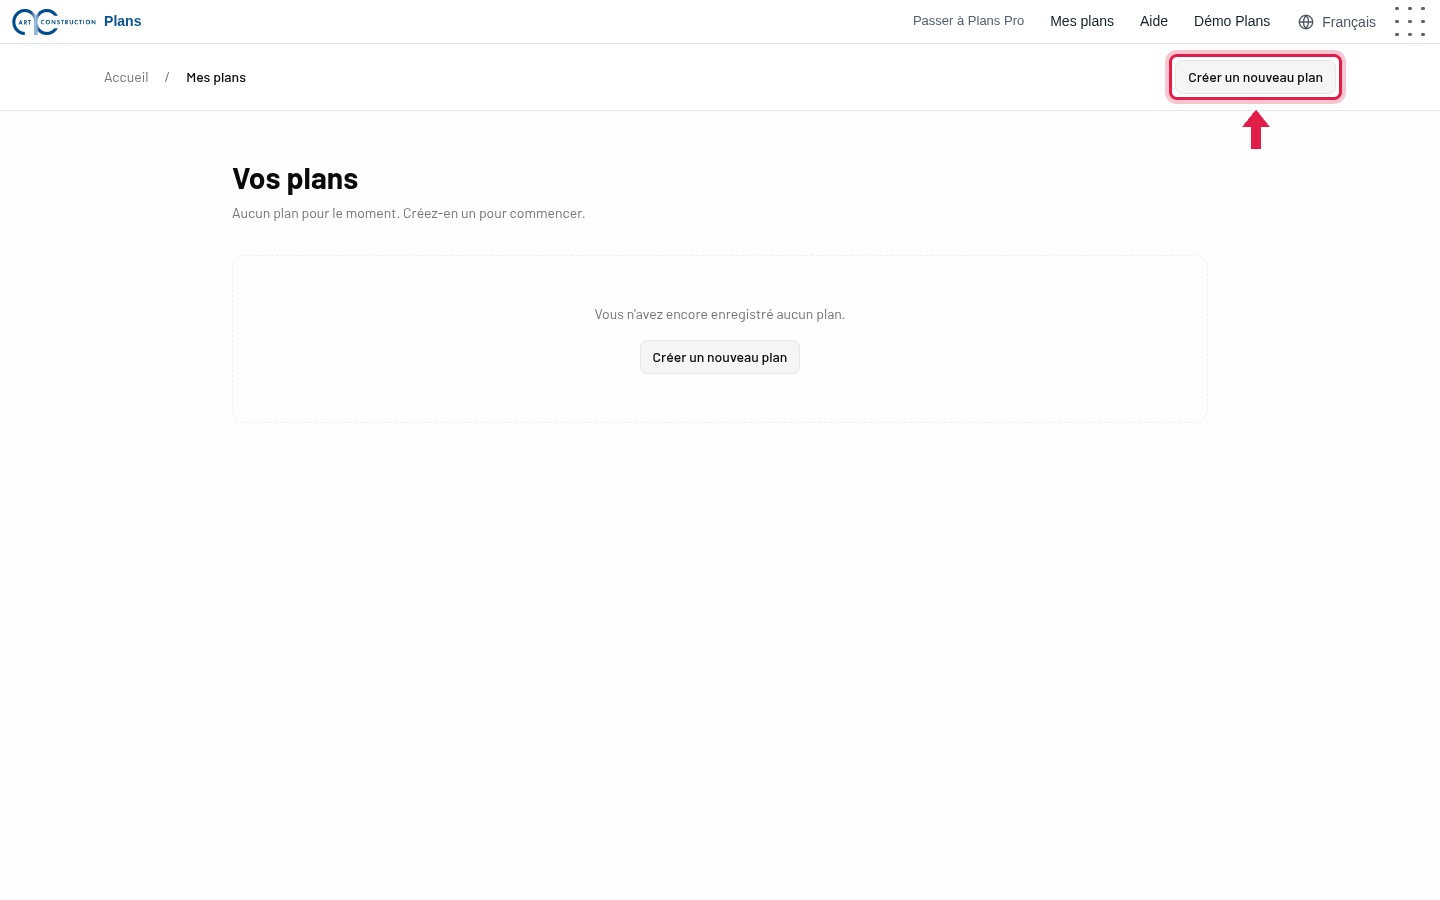
Once signed in, click My plans at the top. Then click Create new scene.
2The plan is open
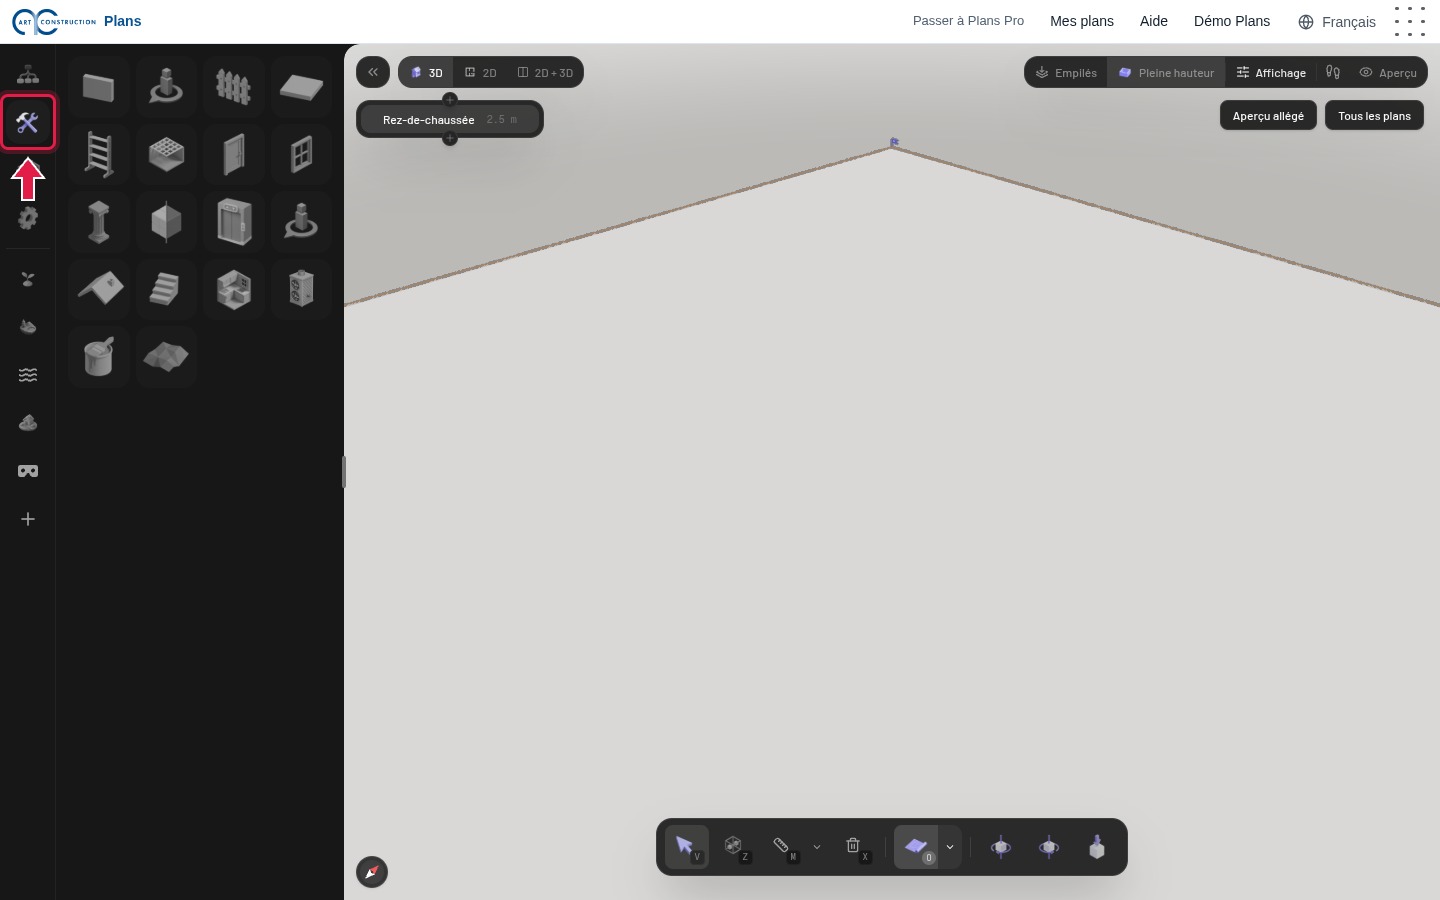
The new plan opens in 3D. On the left, the Scene, Build, Items and Settings tabs give access to all the tools.
3Switch to 2D view
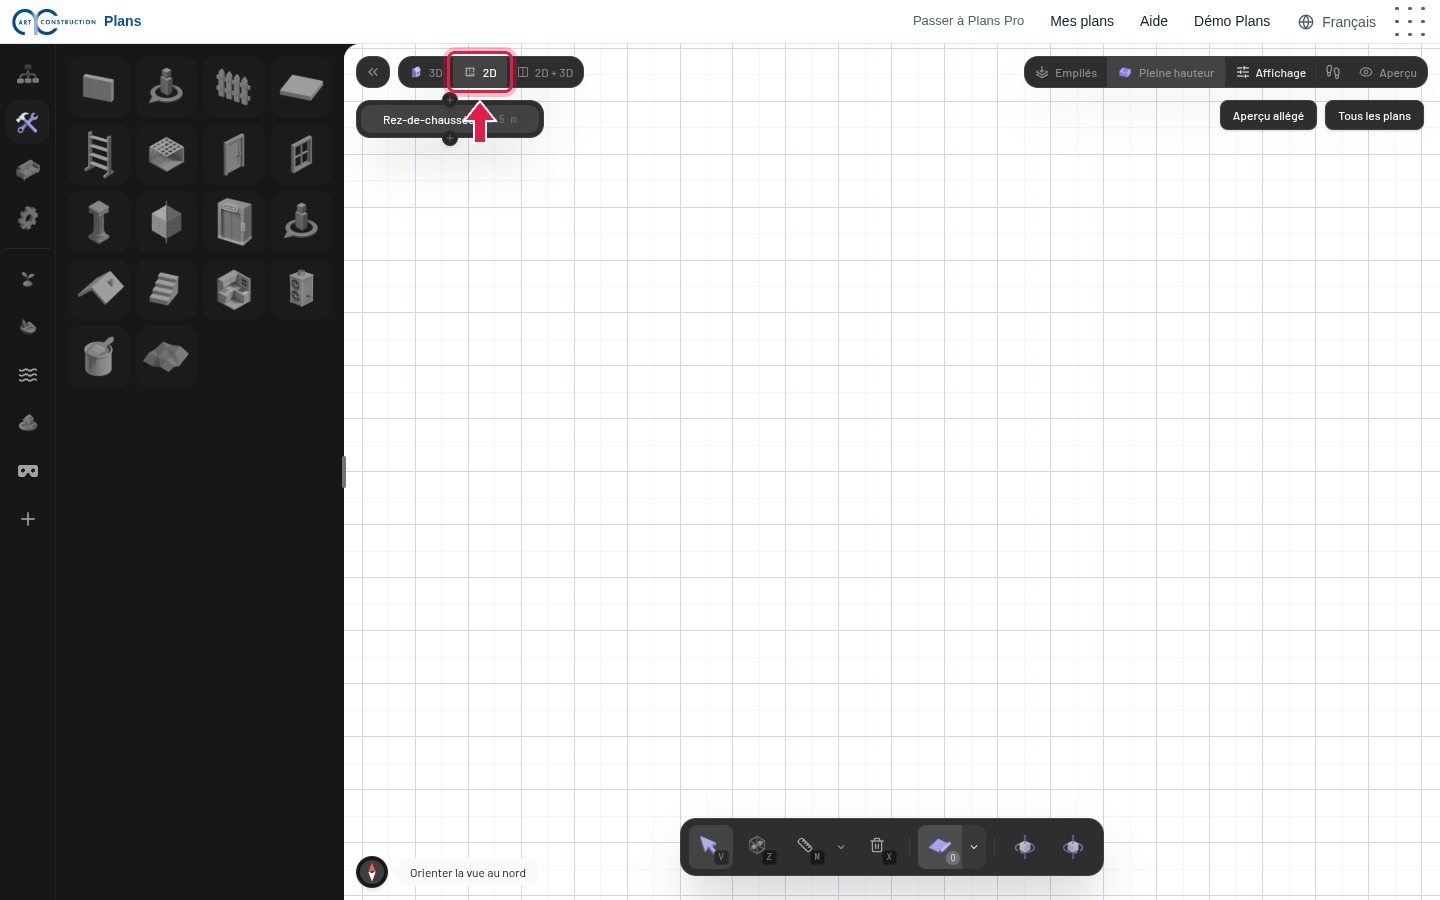
To draw, click 2D at the top: you see the plan from above, on a 50 cm grid. The compass, bottom left, puts north back at the top.
2. Walls
4The Wall tool
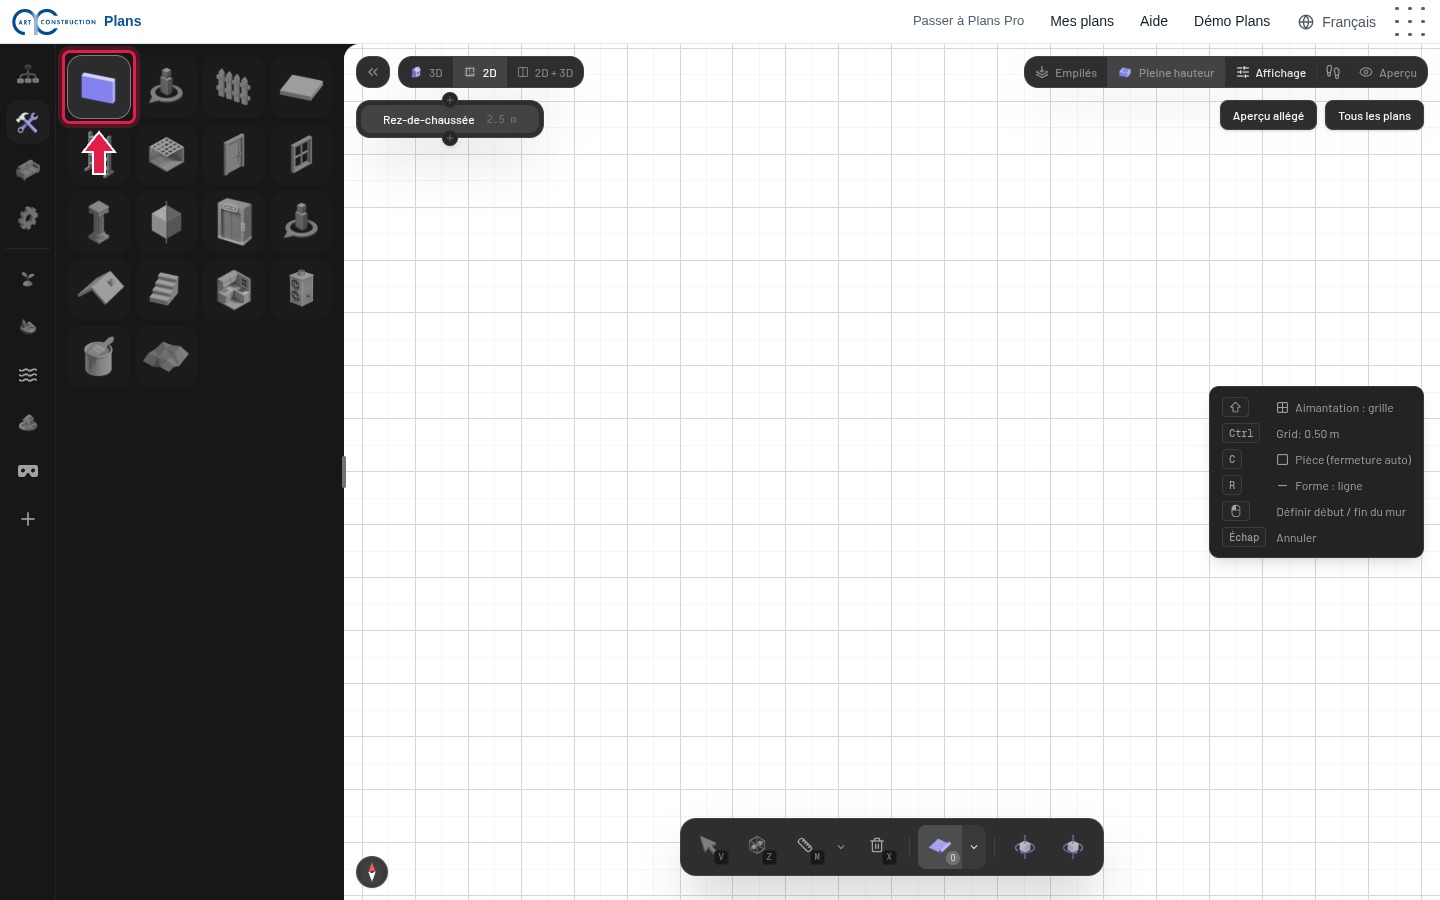
In the Build tab, click the first picture, Wall (shortcut: B key).
5Draw the outside walls
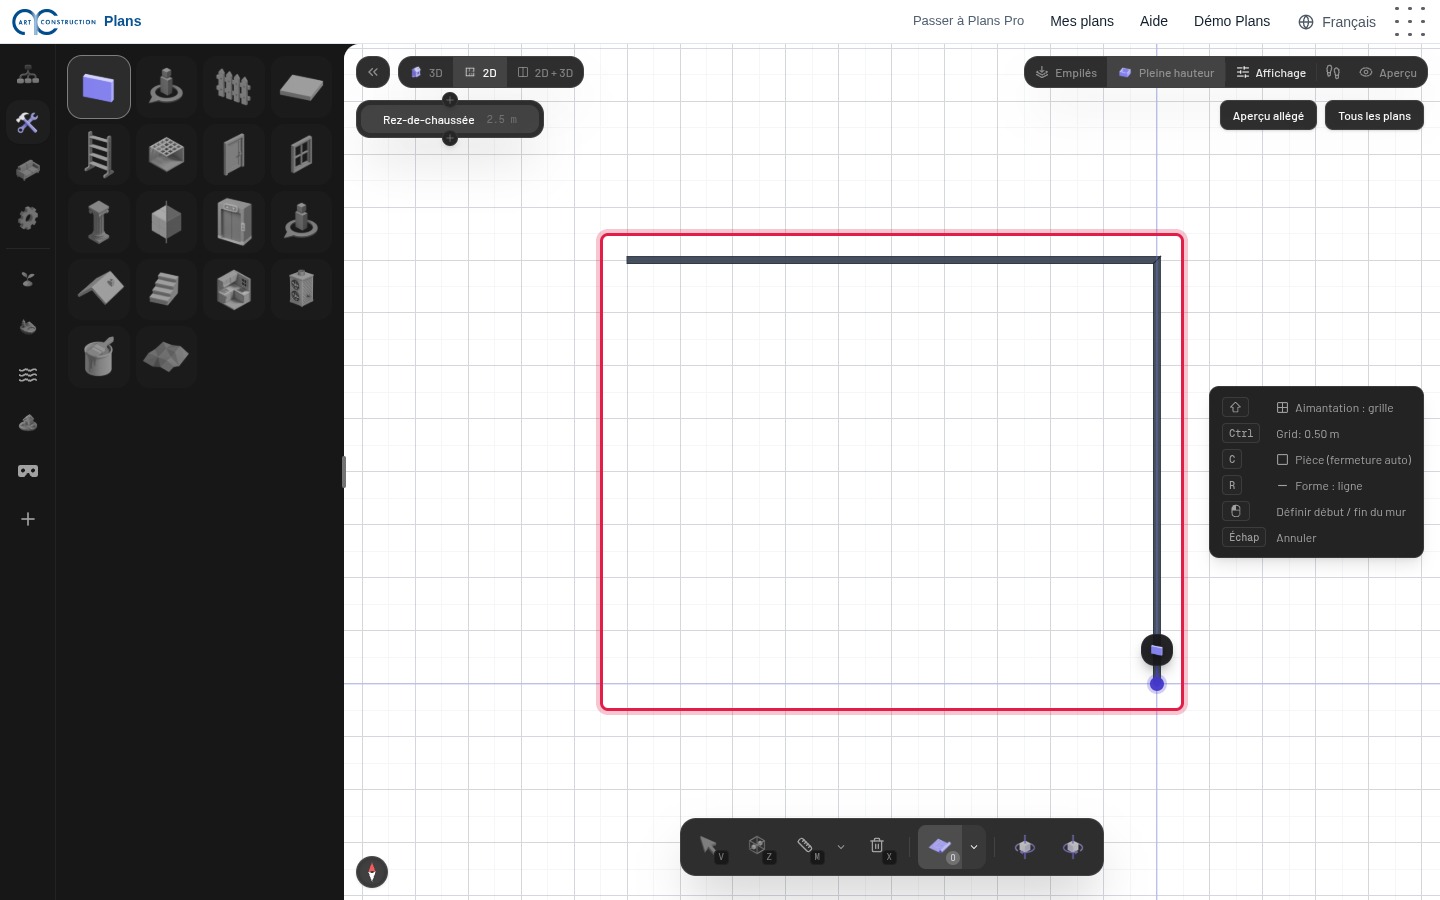
Click at the start of the wall, then at each corner: the walls join up one after another. The points snap to the grid.
6Close the outline
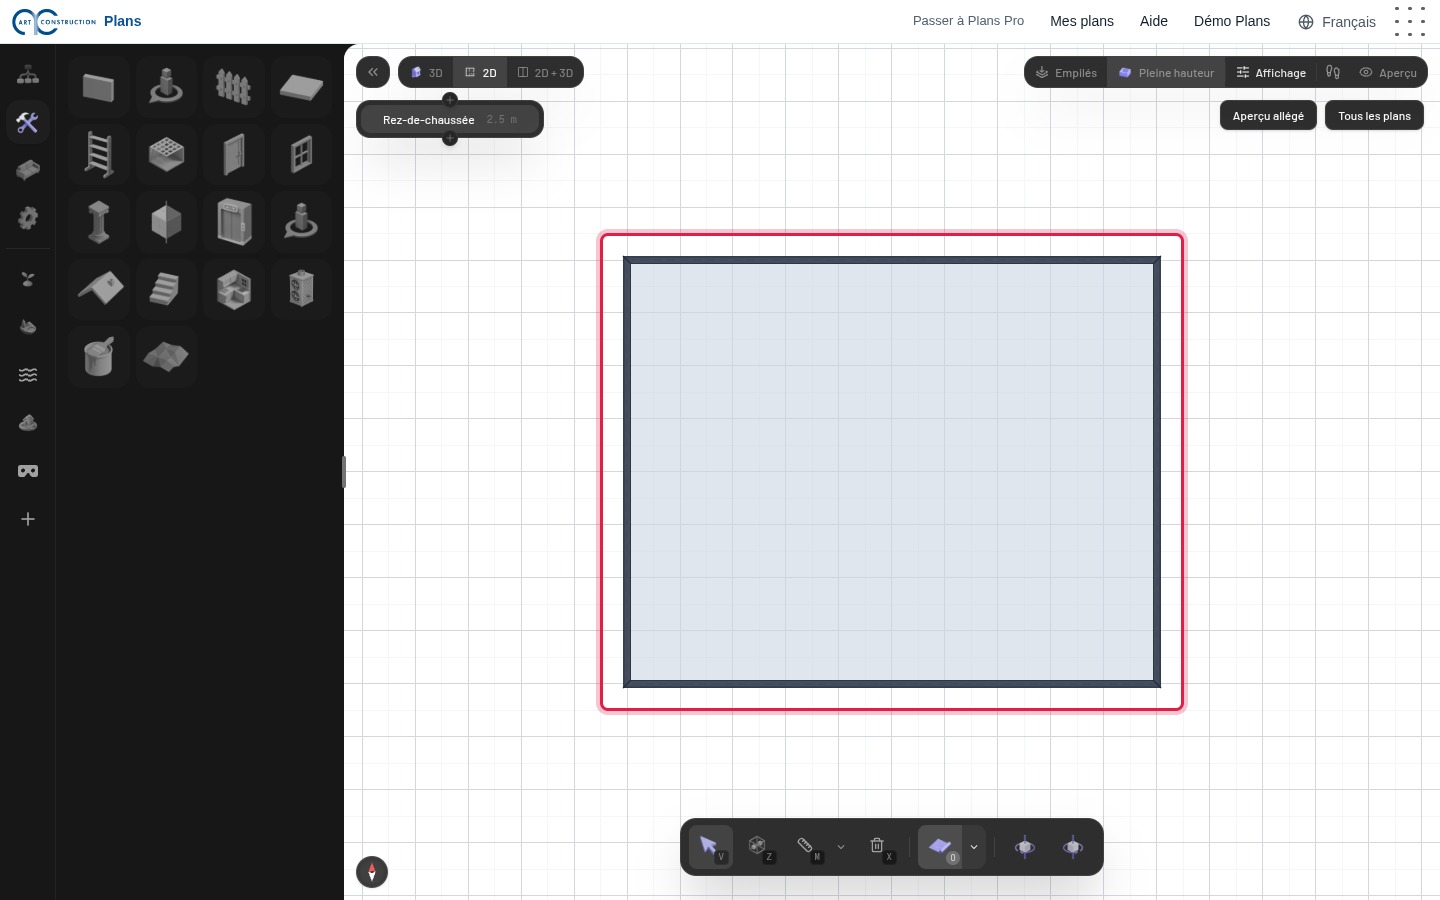
Click the first point again to close the outline. Plans then creates the floor and ceiling of the room automatically. Esc stops drawing.
7Inside walls
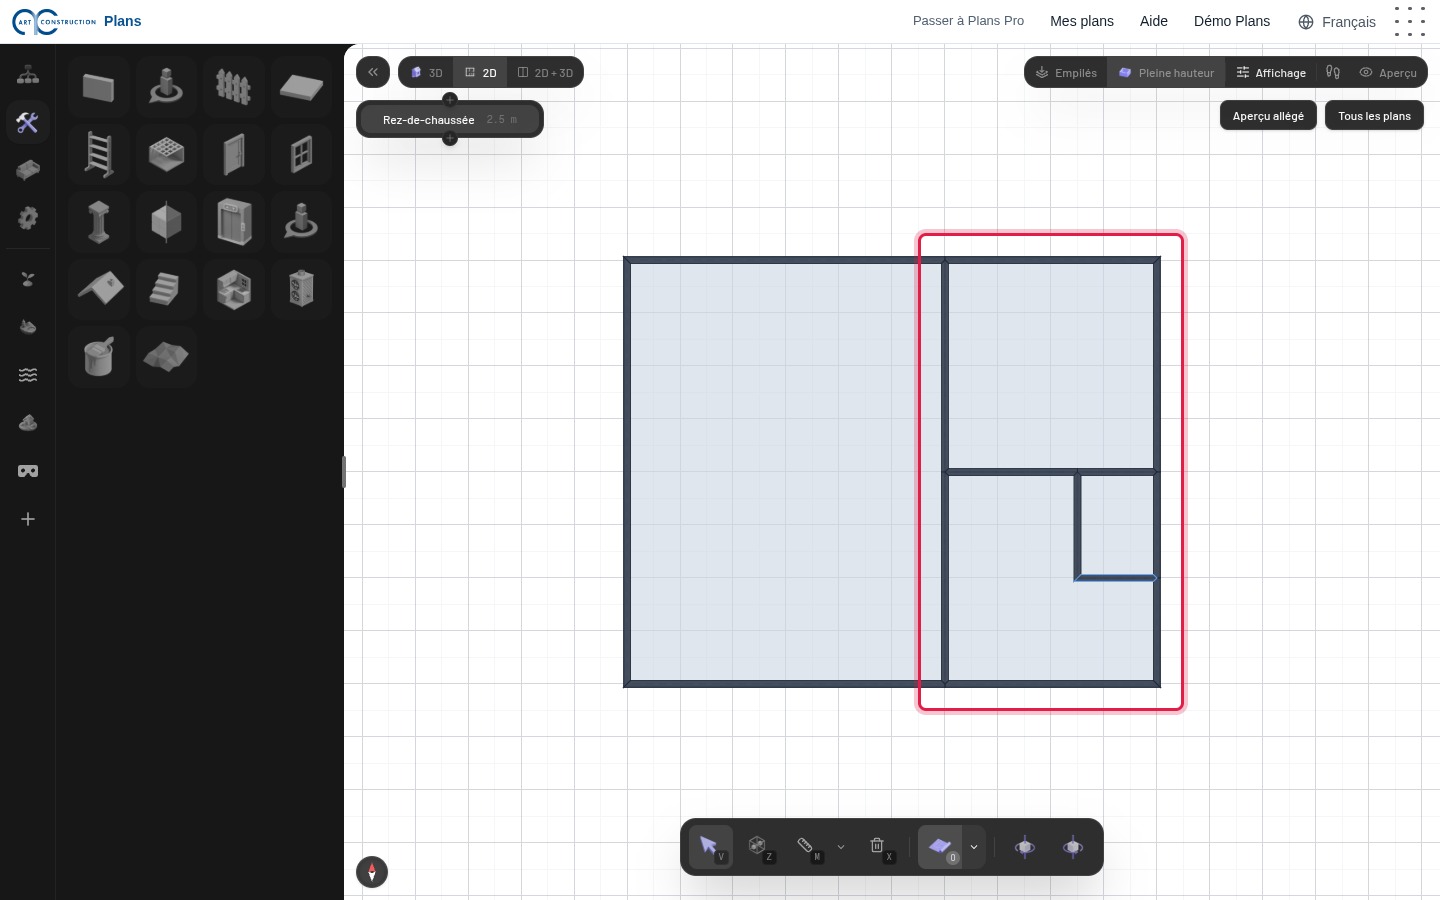
Take the Wall tool again and draw the partitions the same way, from one wall to another. In the example: the living room on the left, the kitchen, the entrance and the WC on the right.
8Change a wall
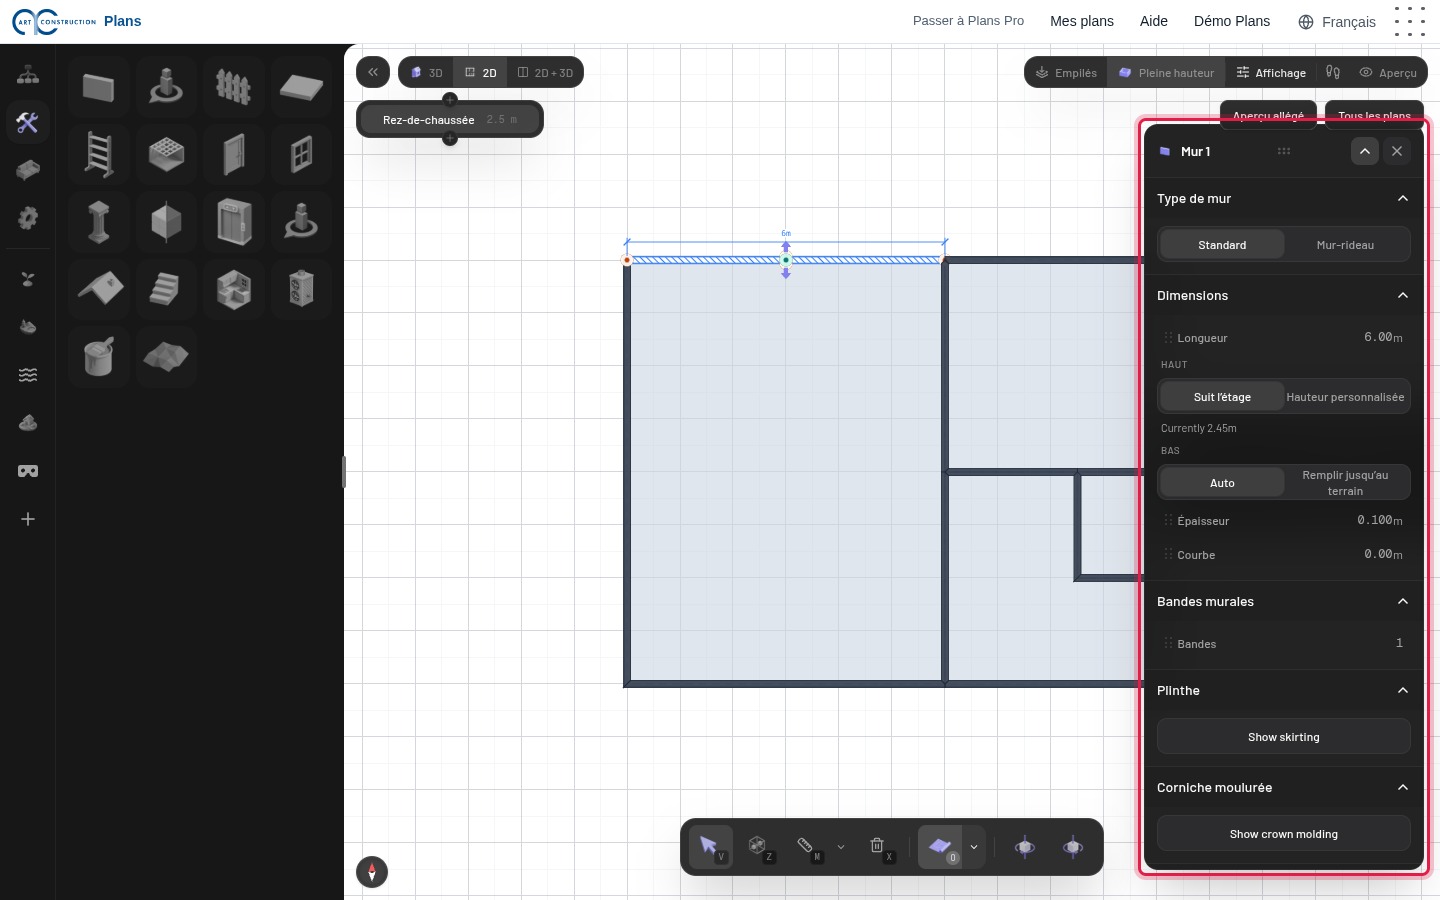
Choose the selection tool (arrow at the bottom, V key), then click a wall. Its length appears and a panel opens on the right to set its size. The small bar above it lets you move, split, copy or delete it.
3. Doors and windows
9Place a door
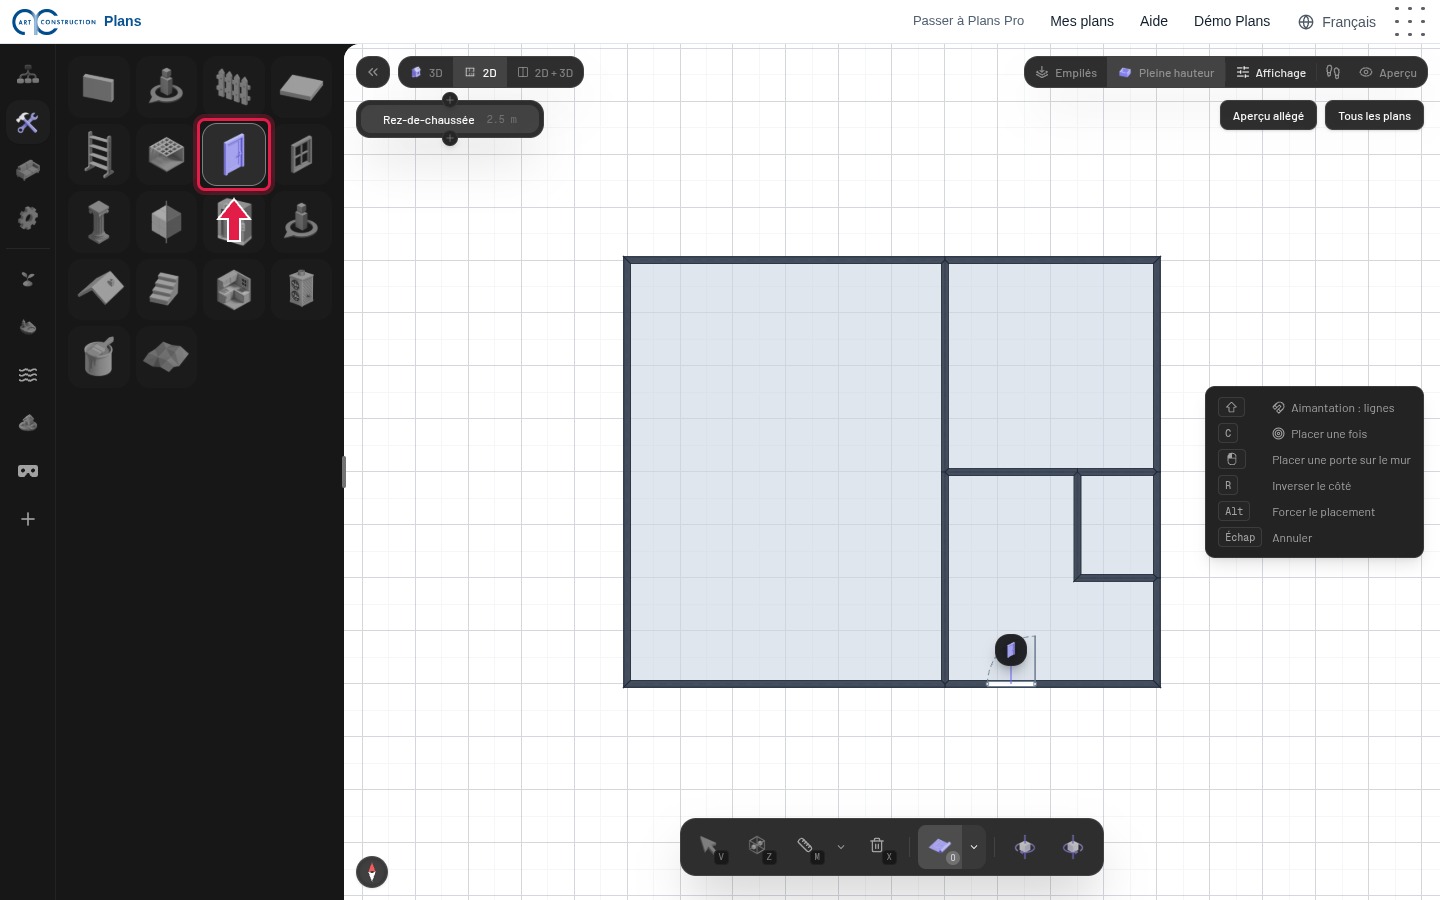
In Build, click Door. Move the mouse over a wall: the door follows the wall. Click to place it. The R key flips the way it opens.
10All the doors
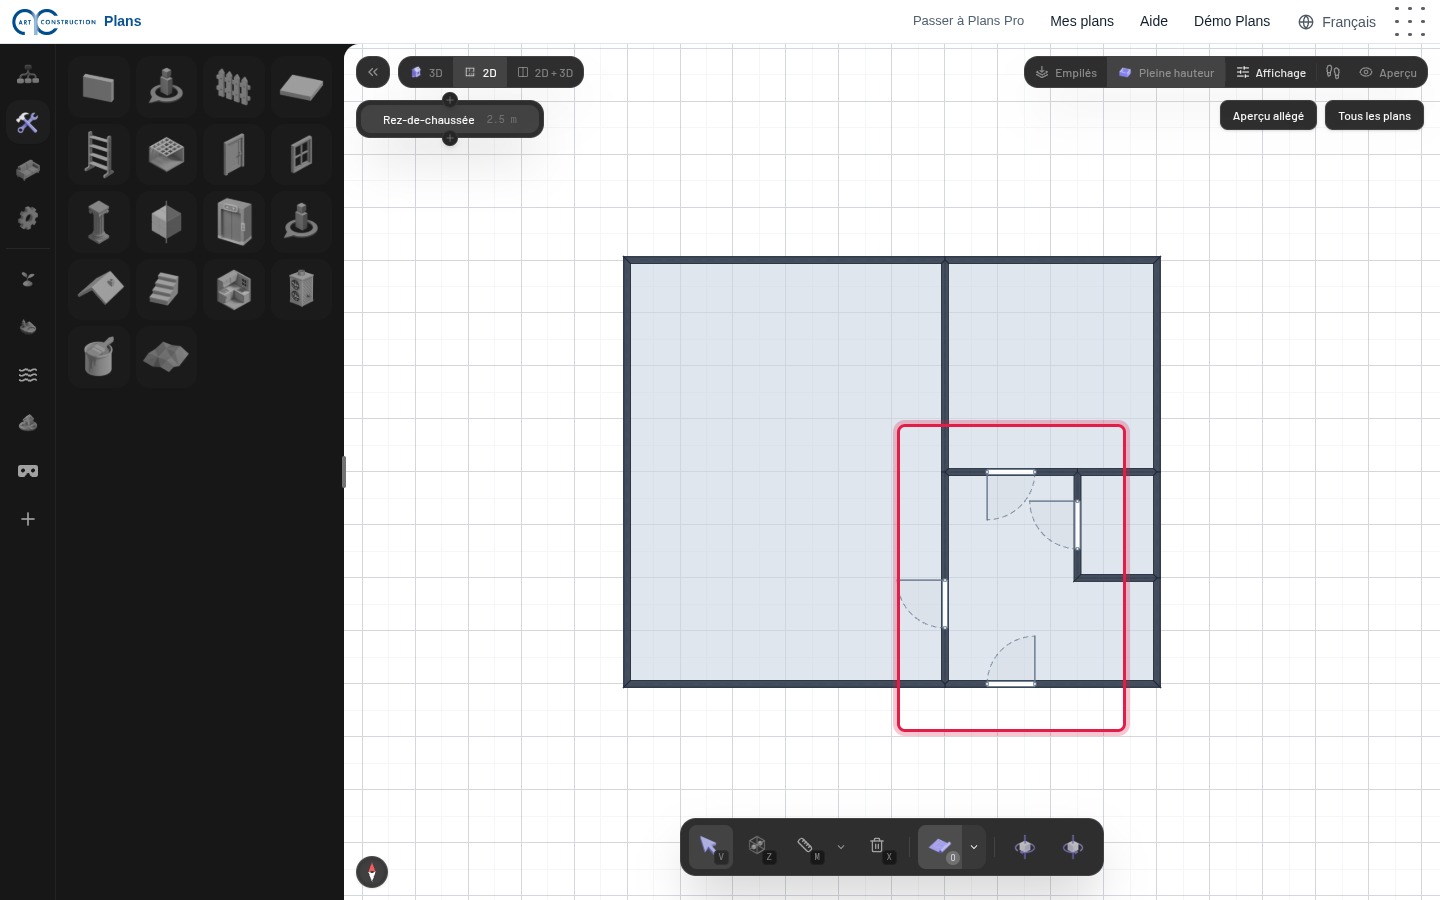
Repeat for each door: the front door and the doors of the living room, kitchen and WC.
11Place a window
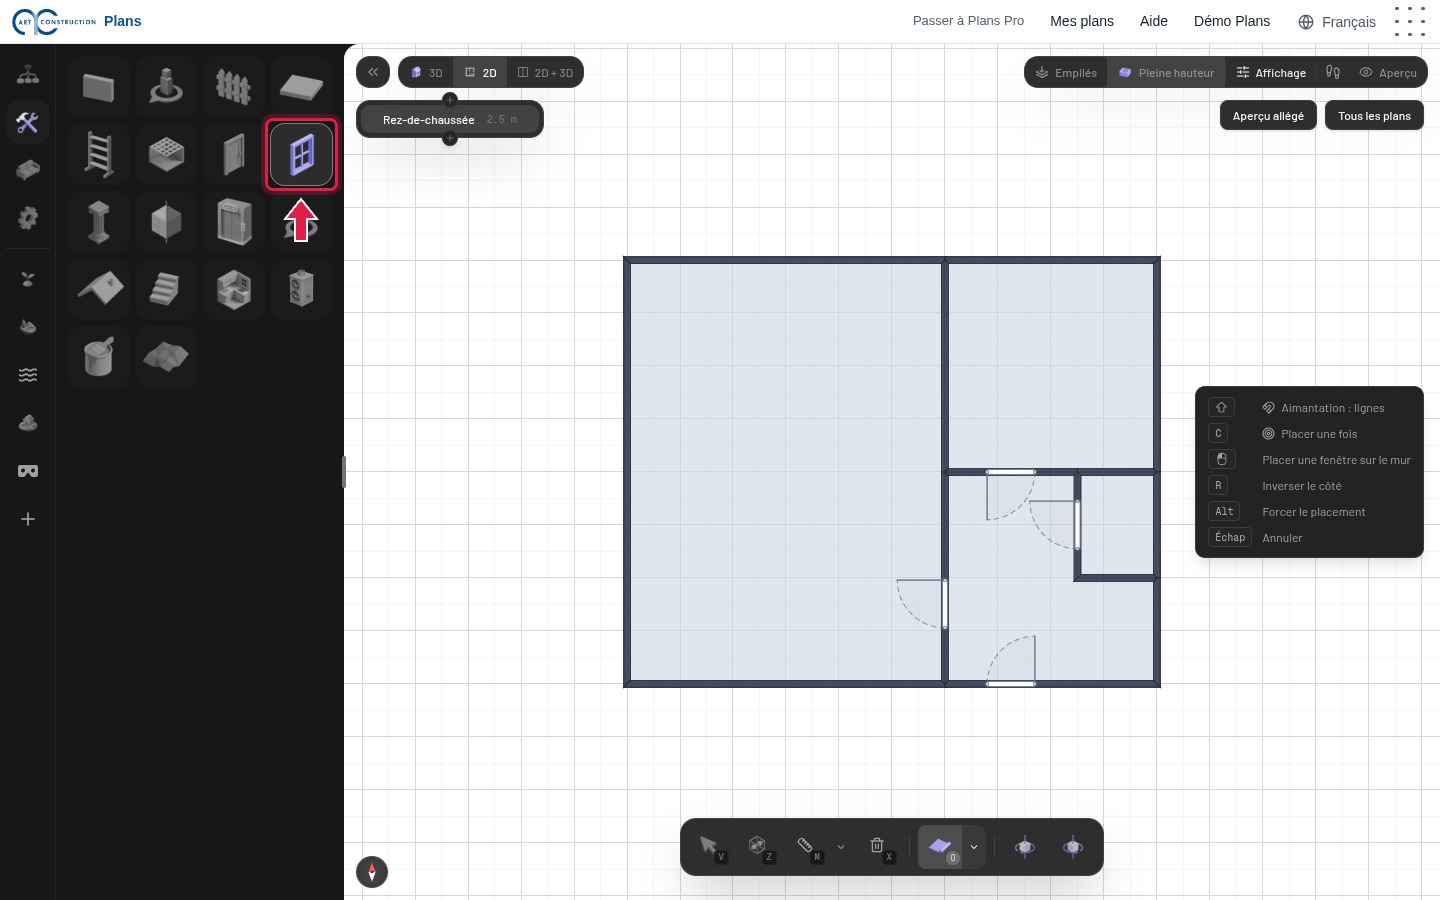
Click Window, then a wall, just like a door.
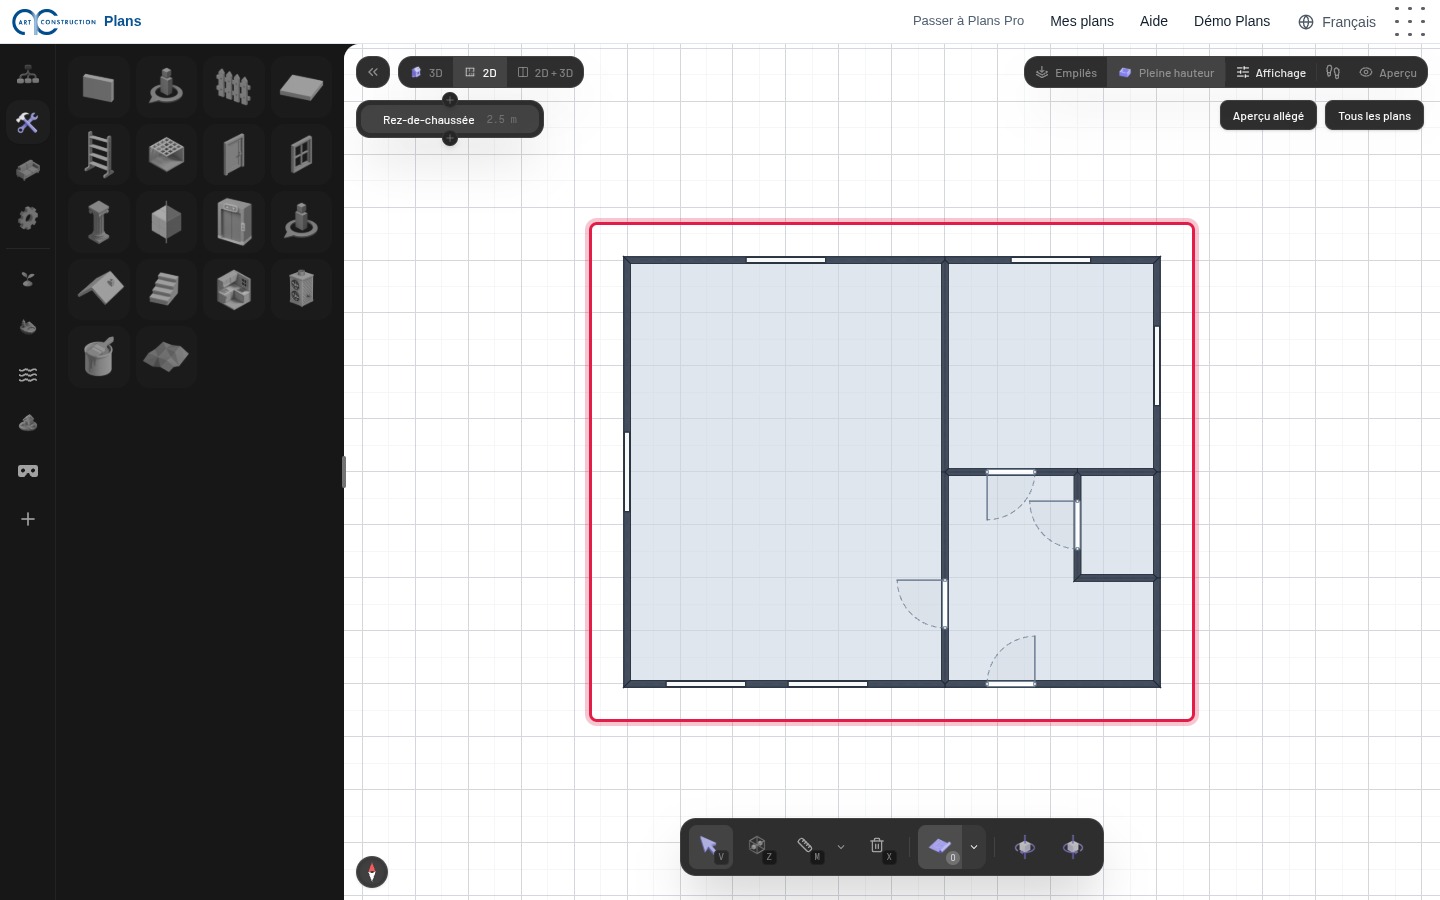
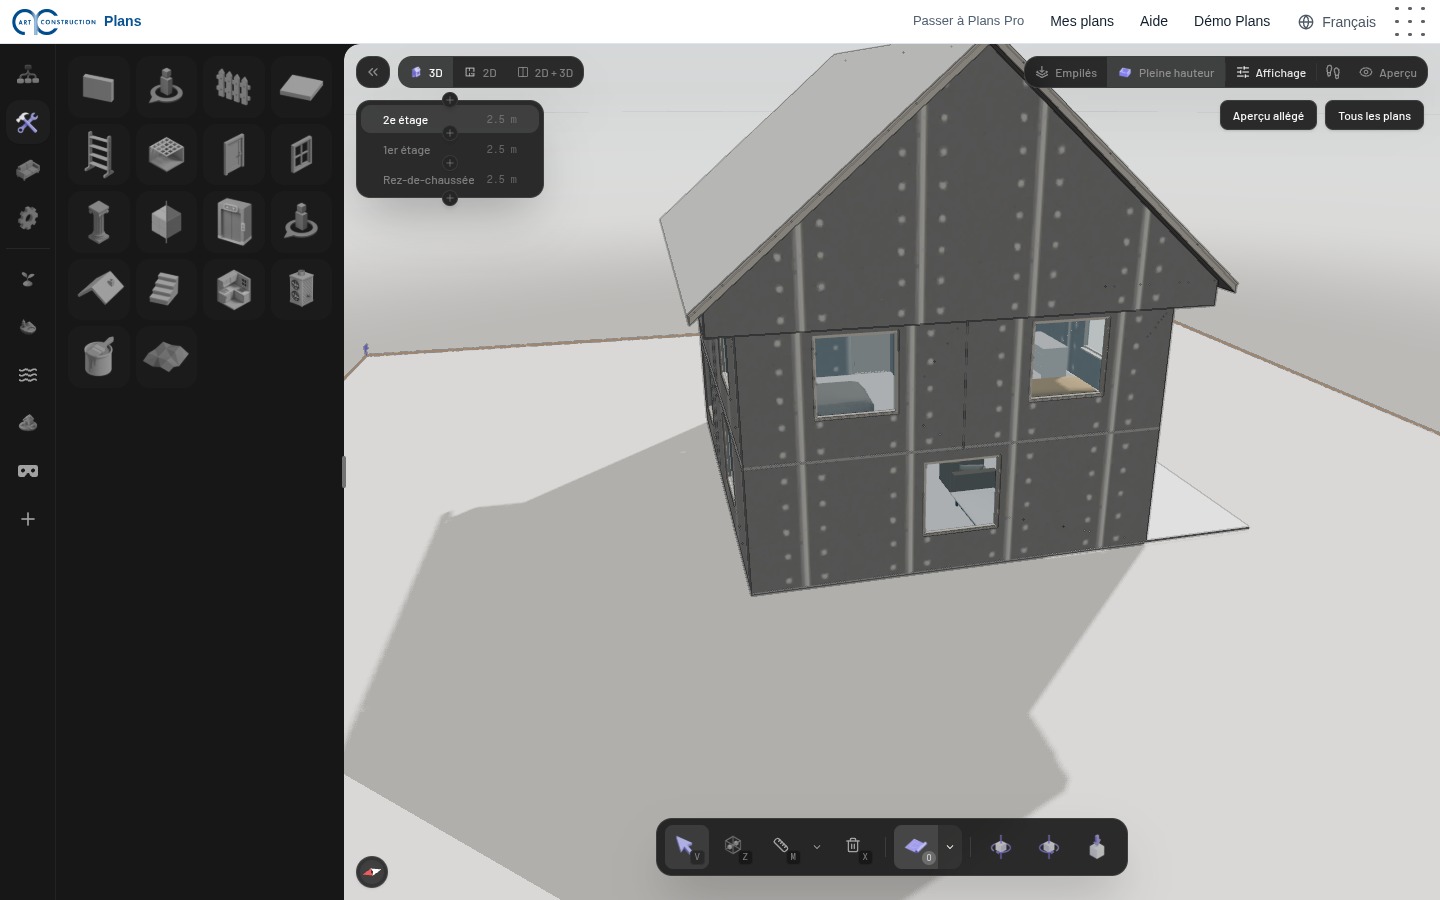
12The ground floor with its openings
Doors and windows are cut into the walls. Click an opening with the selection tool to change its width, height or type.
4. Floors, slabs and roof
13Add a floor
Open the Scene tab and click Add level. The new floor becomes the active floor: everything you draw goes on it.
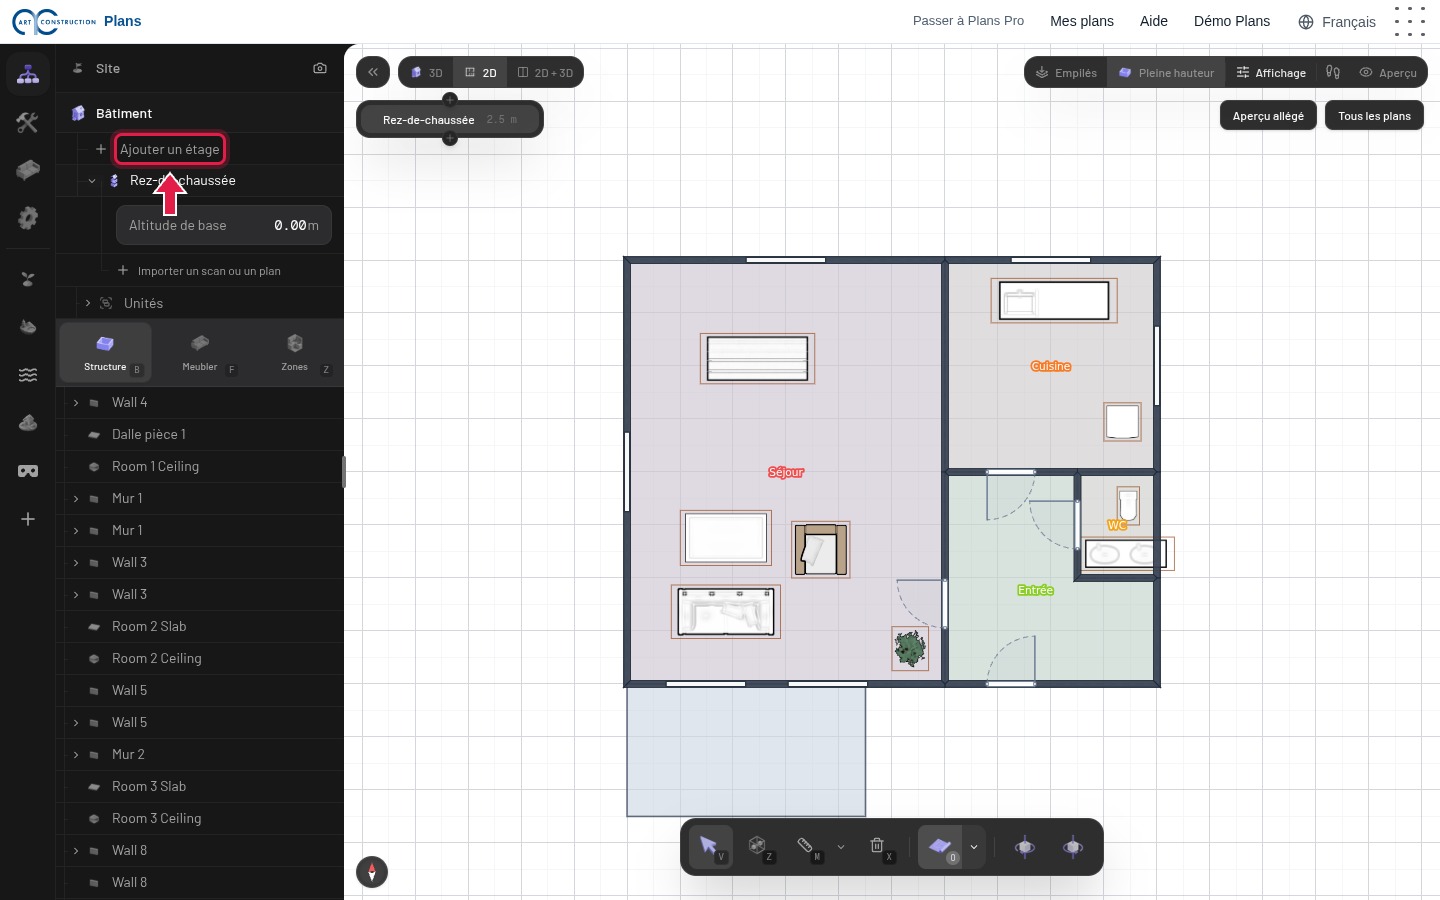
14Draw the upper floor
Draw the walls, doors and windows of the floor as on the ground floor. The list of floors, top left, shows the active floor and the height of each floor.
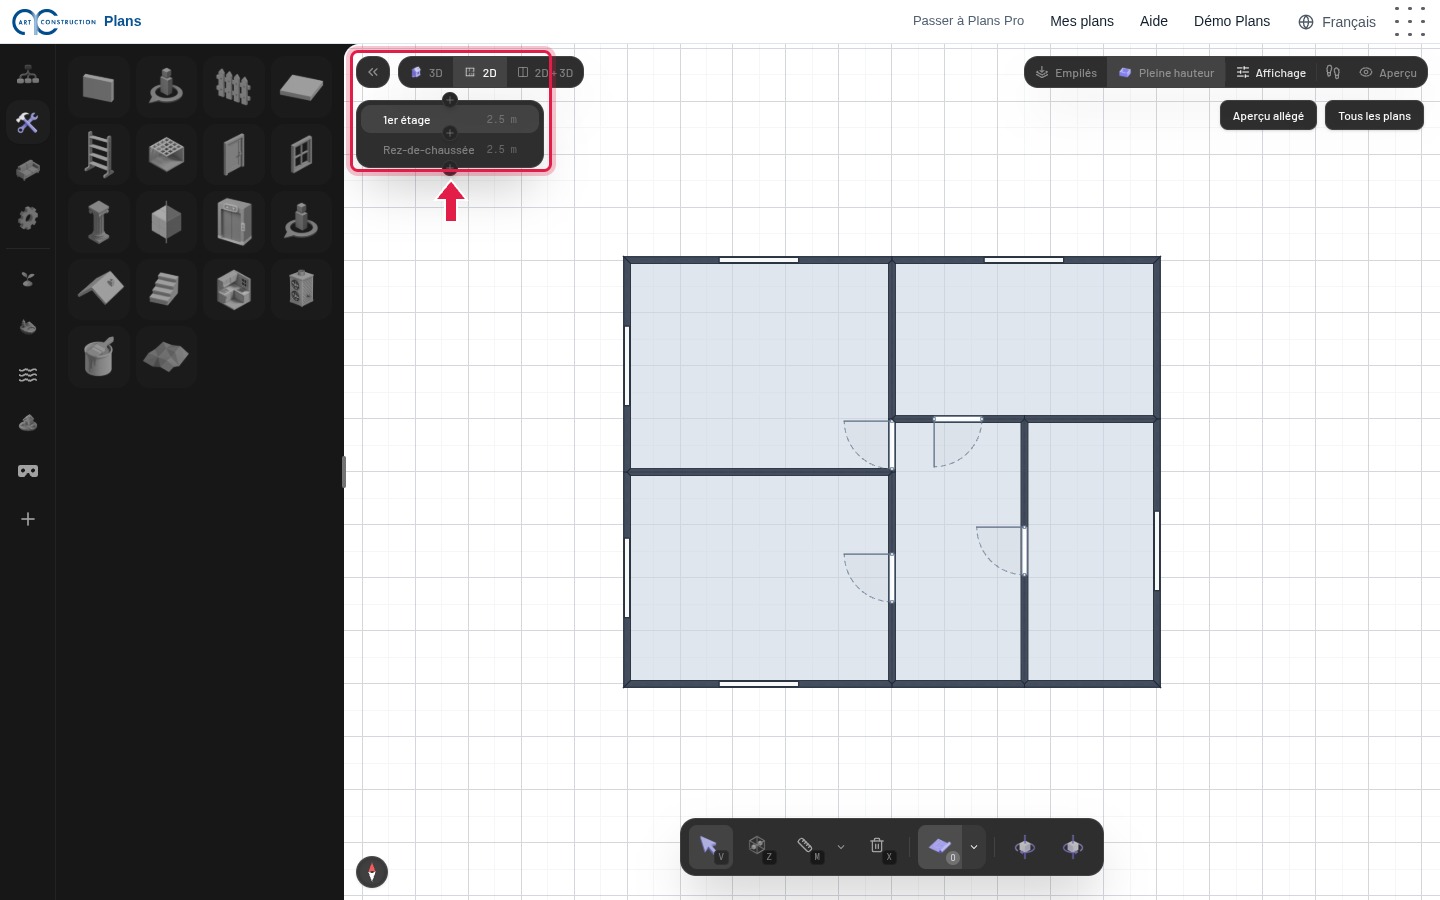
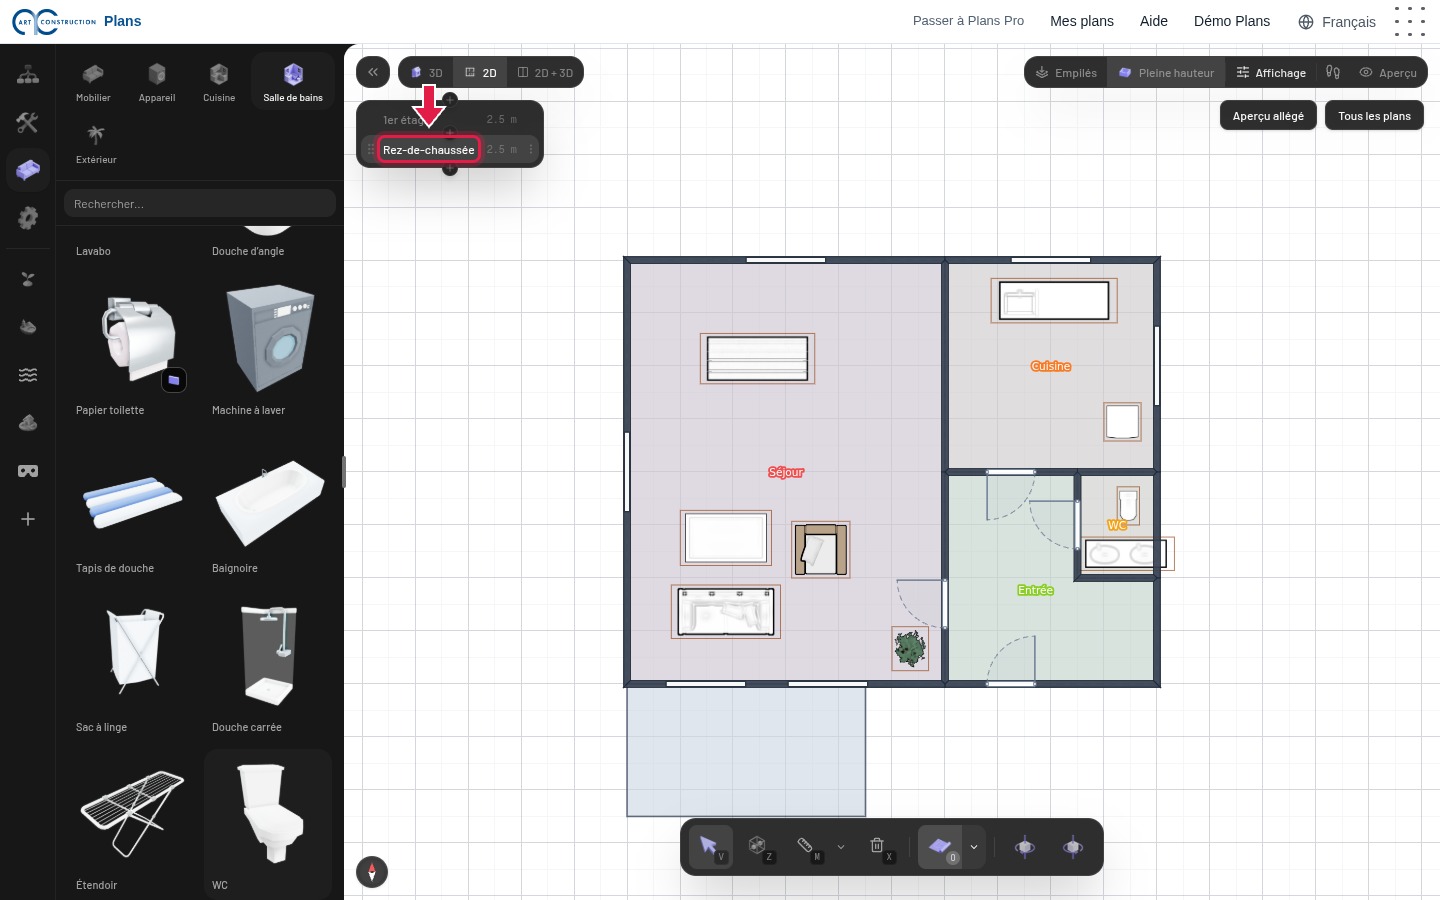
15Change floor
Click a floor in this list to work on it. Shortcut: Ctrl + up or down arrow.
16Slabs
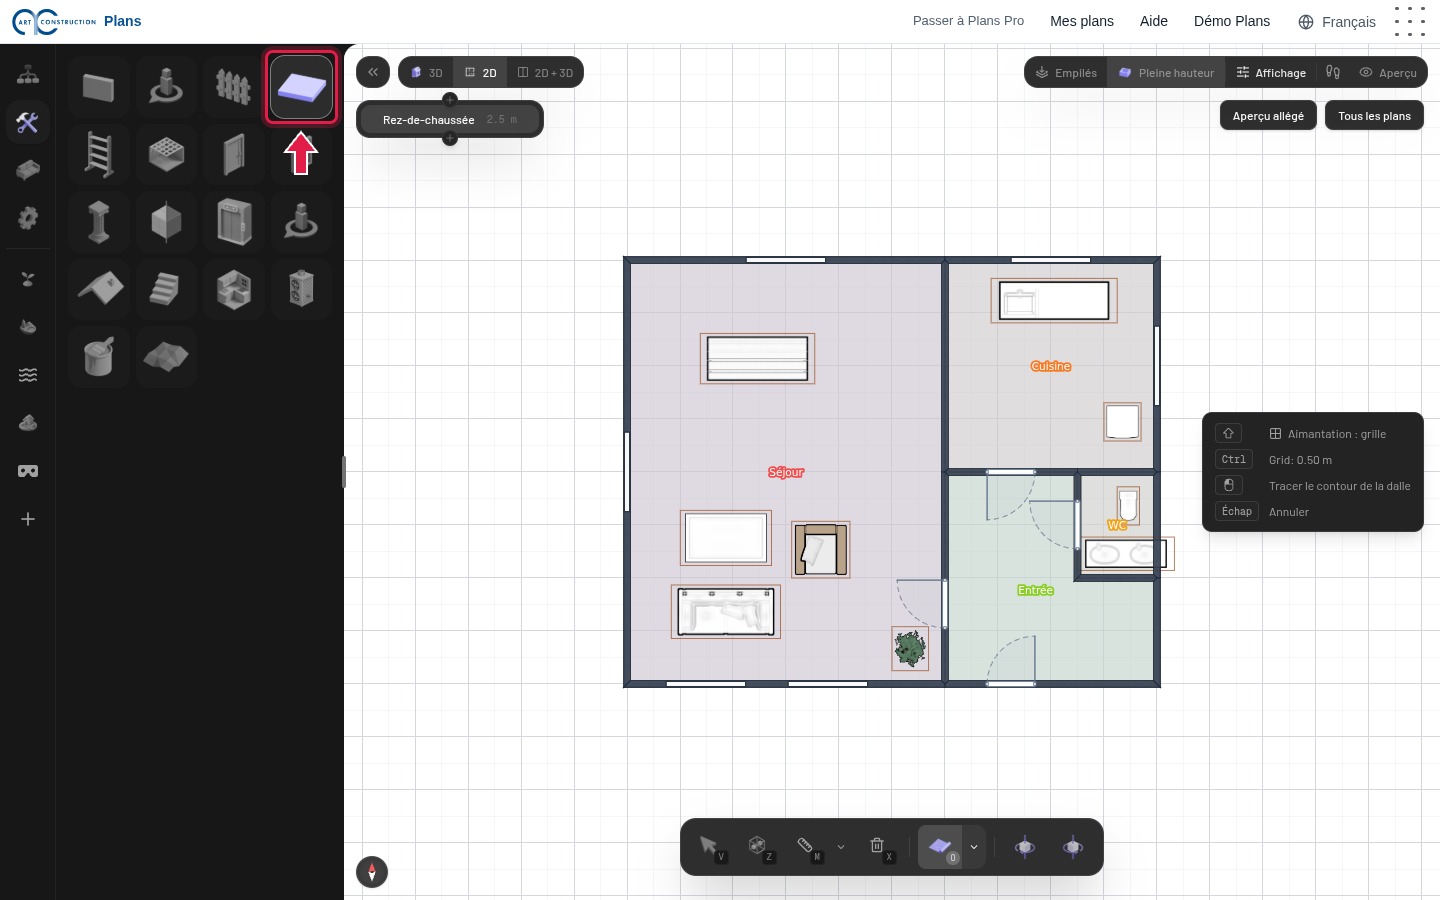
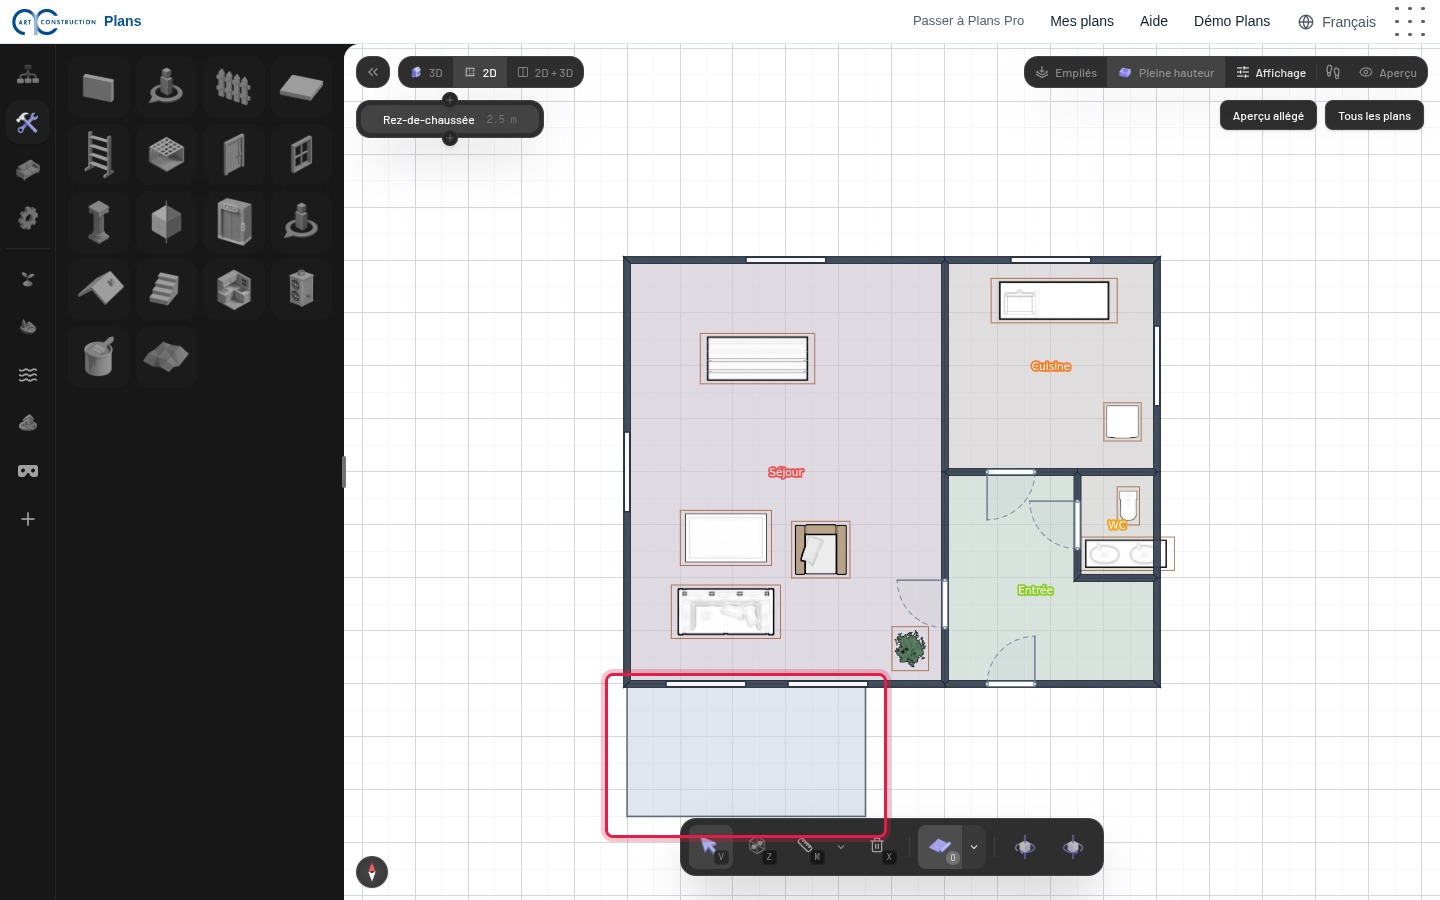
The floor of each closed room is created automatically. For an extra slab, for example a terrace, click Slab in Build.
17Draw a terrace
Click the corners of the slab, then press Enter to finish it.
18The roof
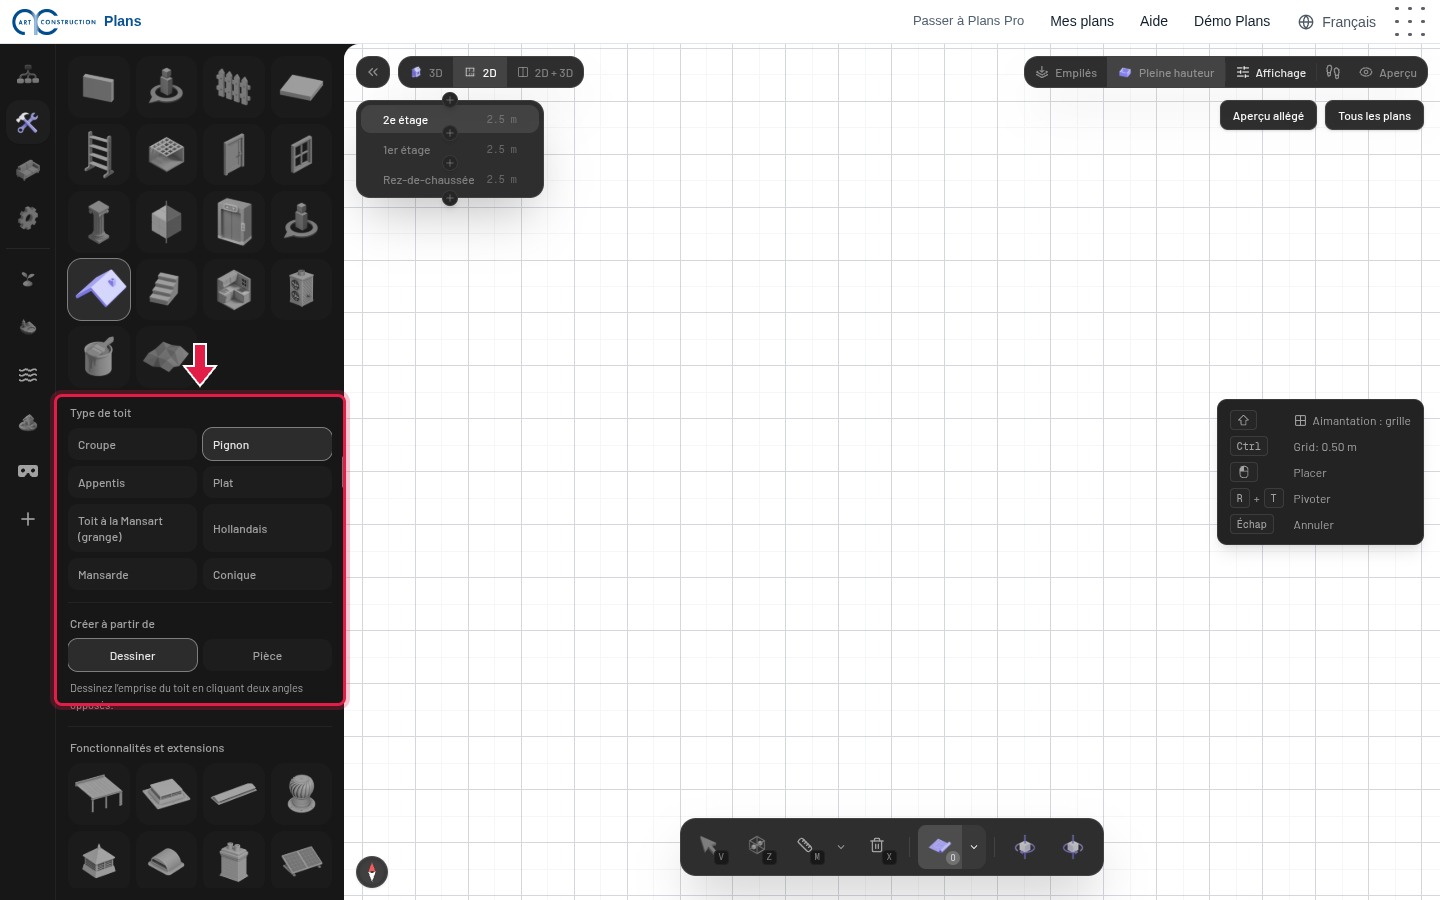
Add one more floor for the roof, then click Roof. Choose the roof type: hip, gable, shed, flat, mansard…
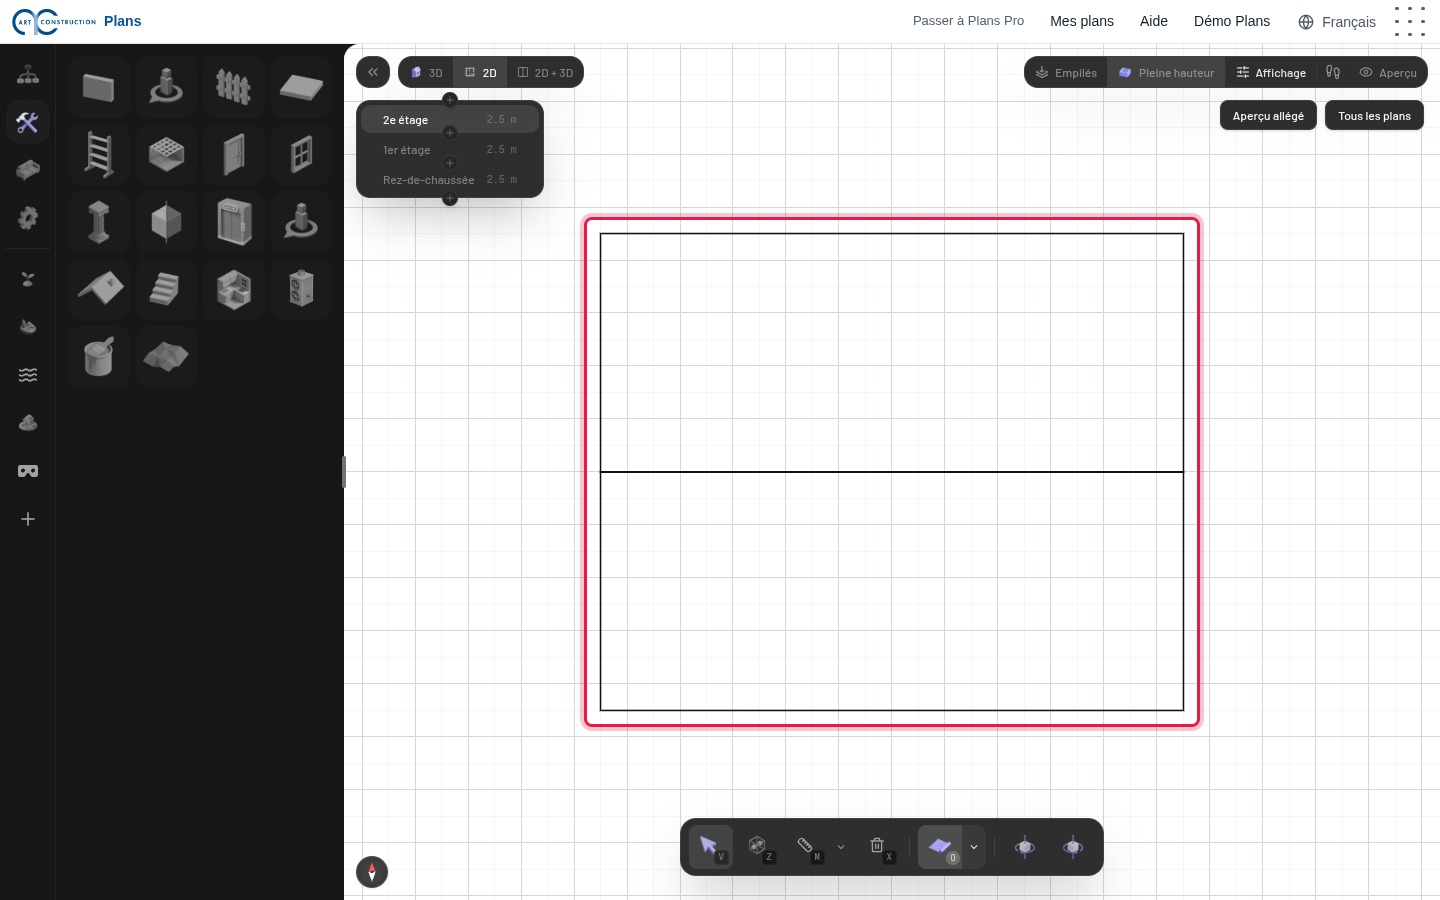
19Draw the roof
Click two opposite corners, a little outside the walls to make an overhang. Then click the roof with the selection tool to change its settings.
5. Rooms
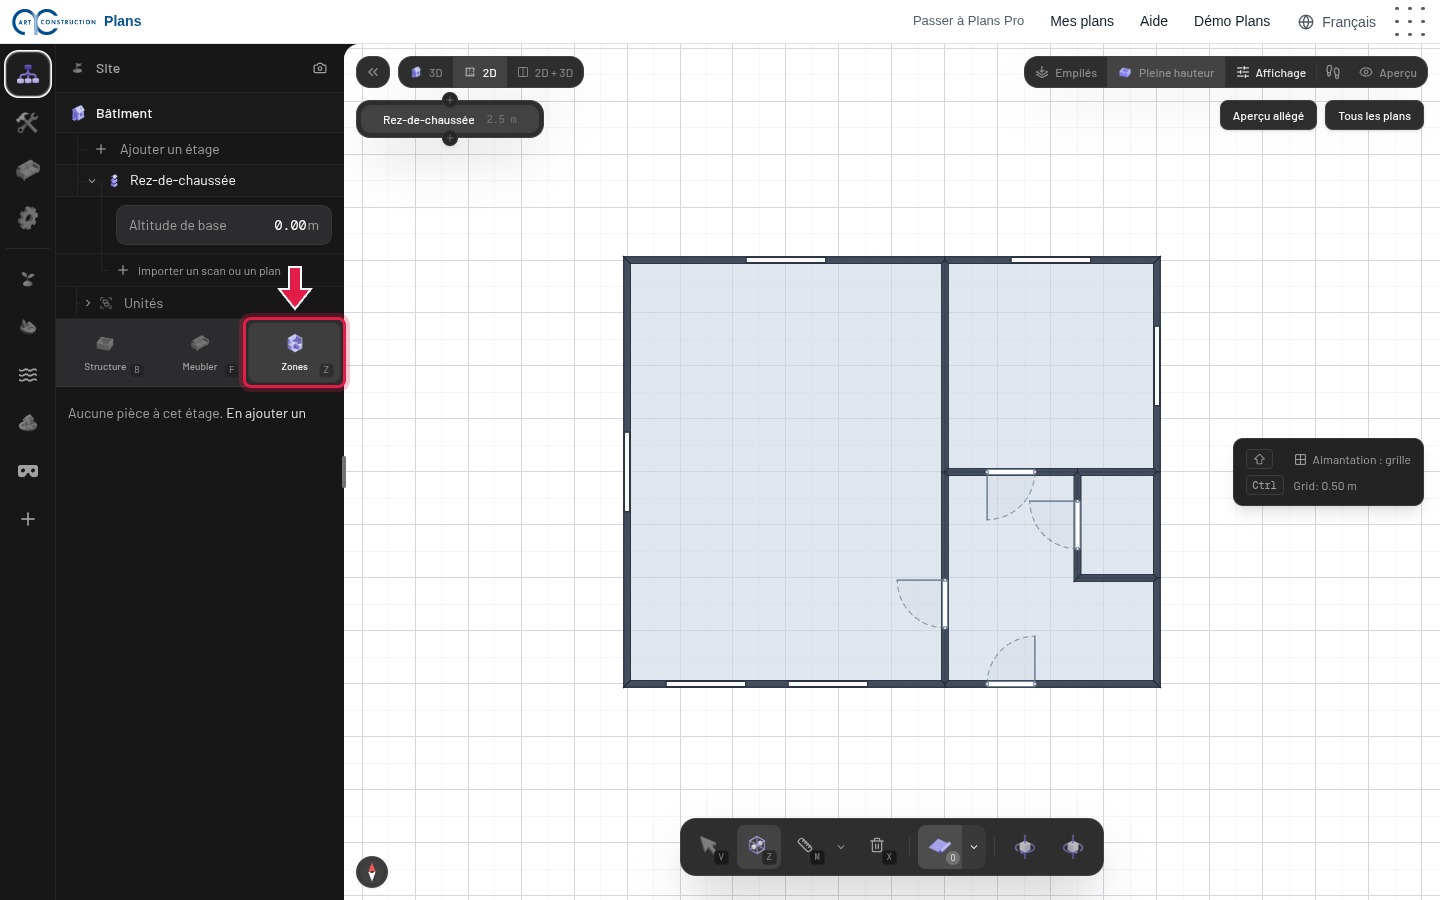
20The room tool
Choose the floor, open the Scene tab, then click Zones (Z key).
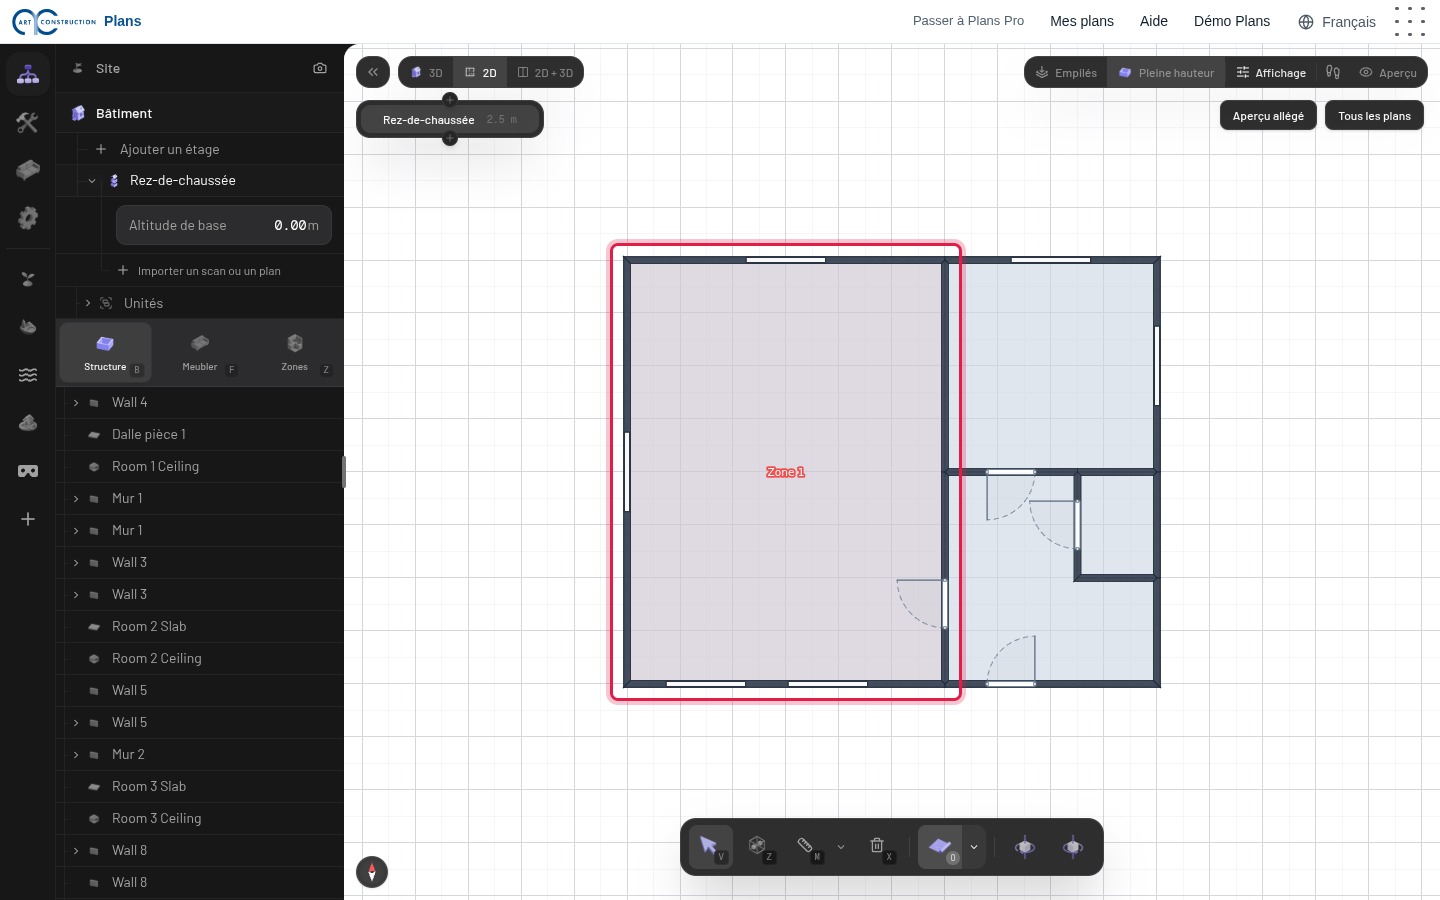
21Draw a room
Click each corner of the room, then the first point again to close it. The room gets a colour and a temporary name, for example “Zone 1”.
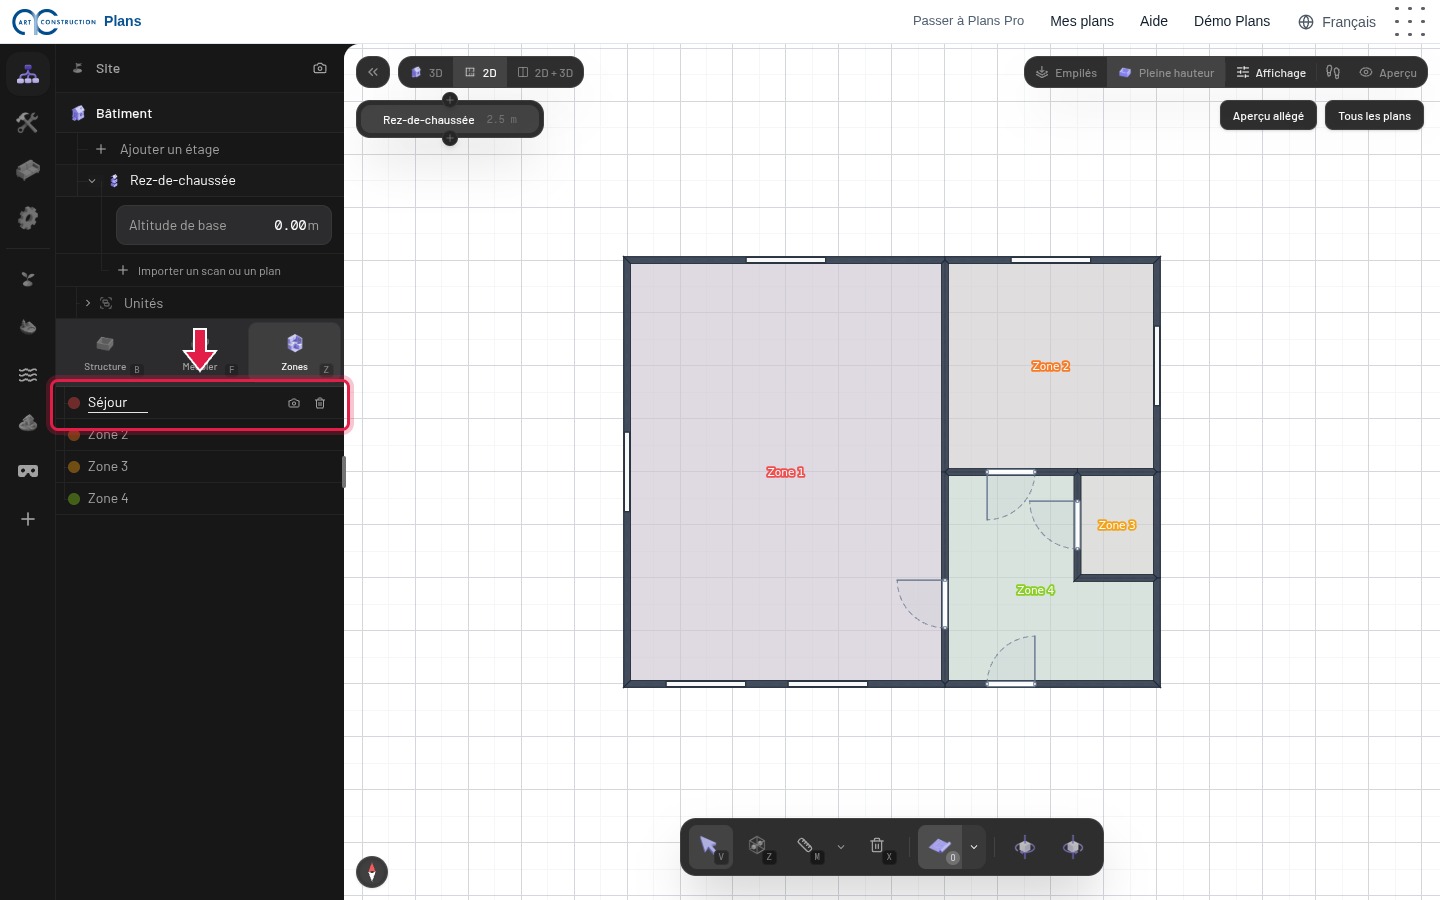
22Name the room
In the list of rooms, move the mouse over the line and click the pencil. Type the name, for example “Living room”, then press Enter.
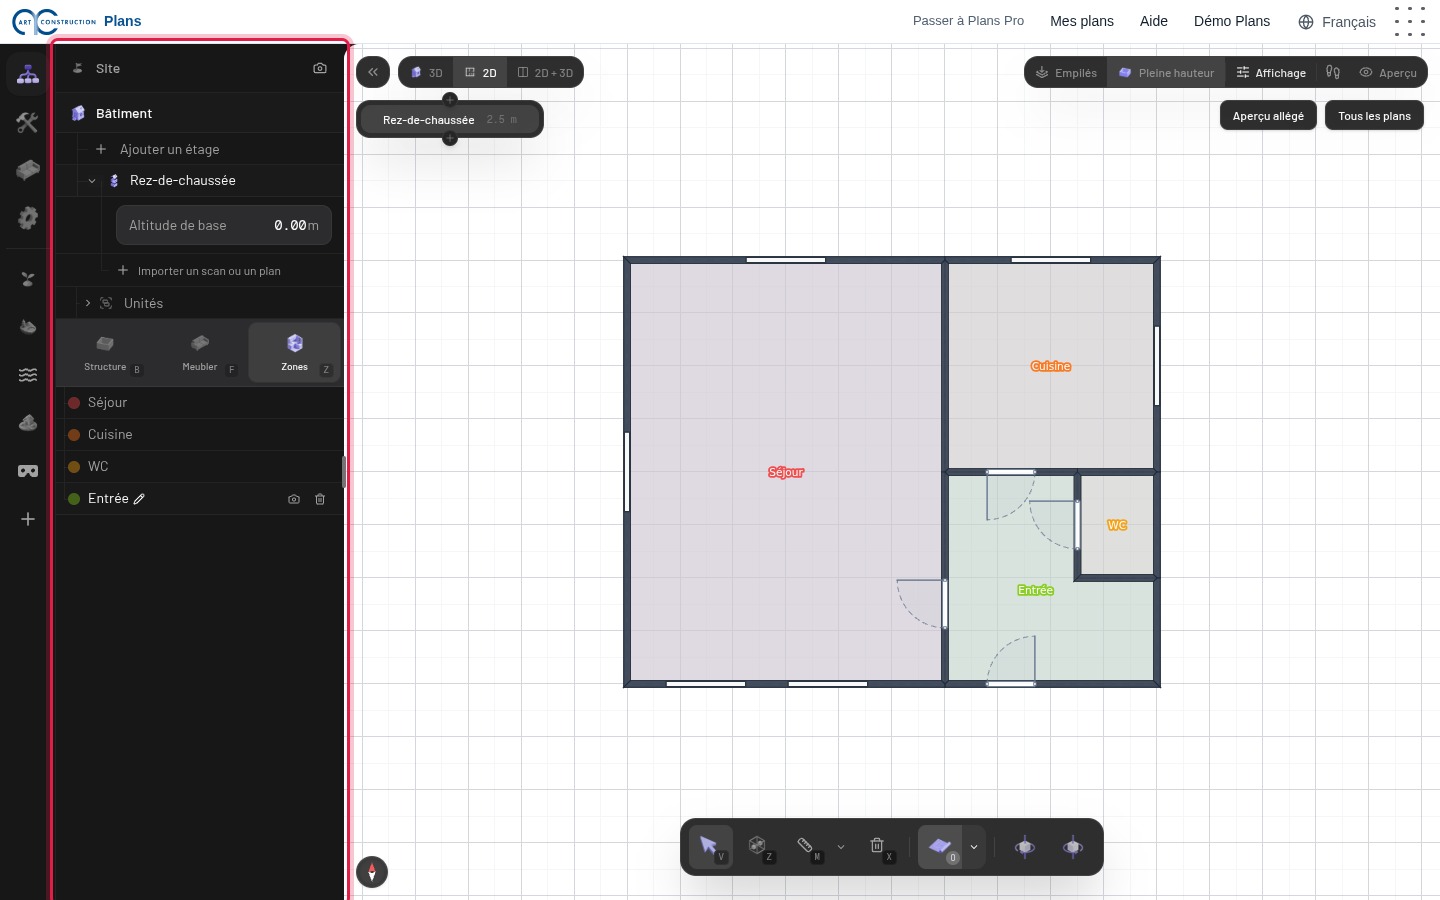
23All the rooms
Do the same for each room: living room, kitchen, entrance and WC on the ground floor; three bedrooms, hallway and bathroom upstairs. The name shows in the middle of each room.
6. Furniture
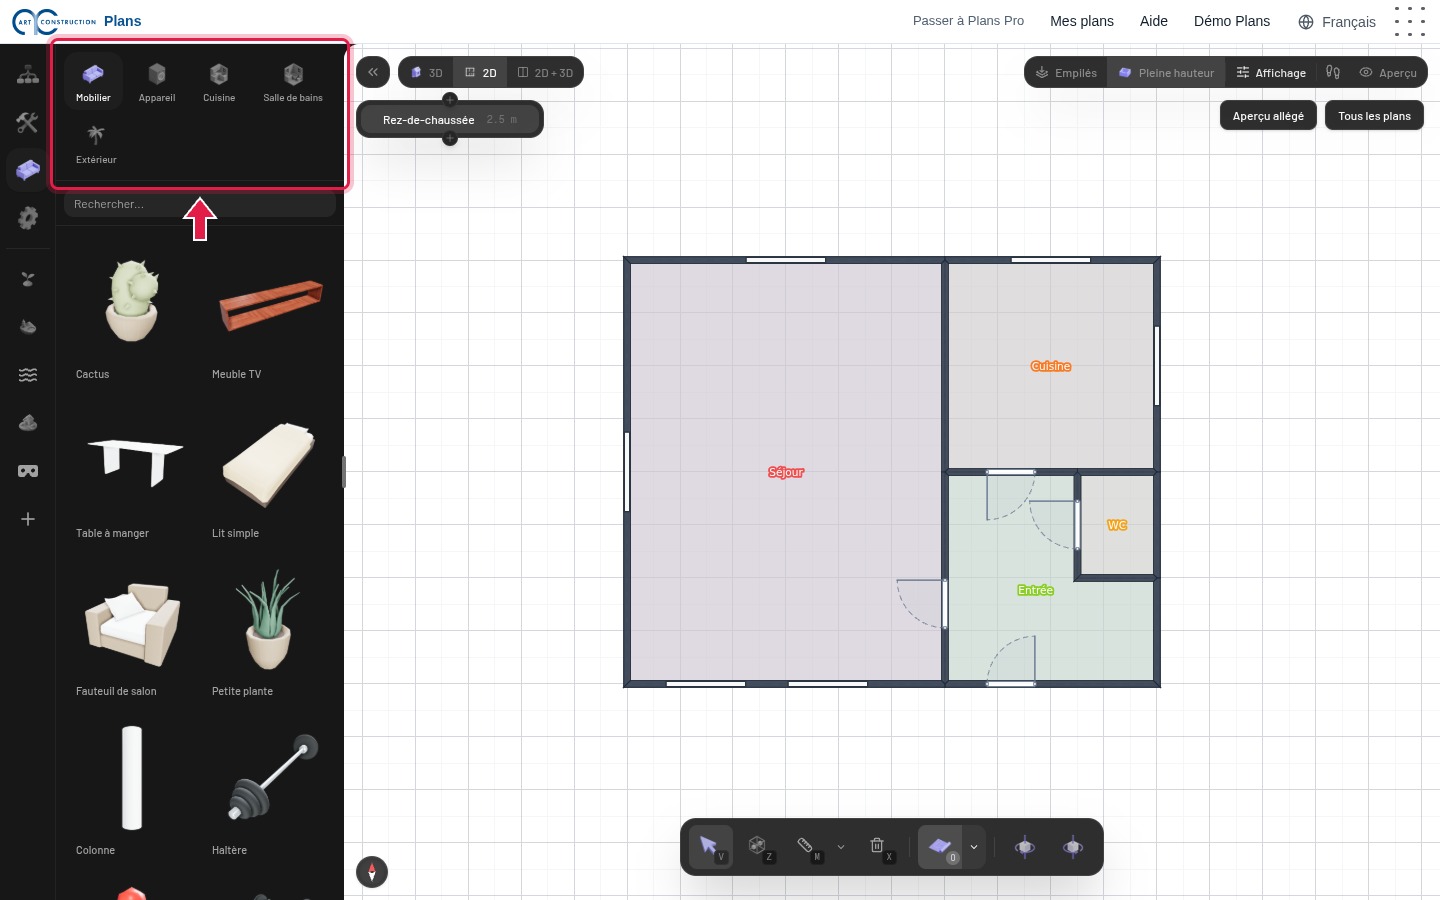
24The catalogue
Open the Items tab. Items are sorted into Furniture, Appliance, Kitchen, Bathroom and Outdoor. The Search field finds an item by its name.
25Place a piece of furniture
Click a piece of furniture, for example Sofa, then click in the plan to place it. The R and T keys turn it before you place it.
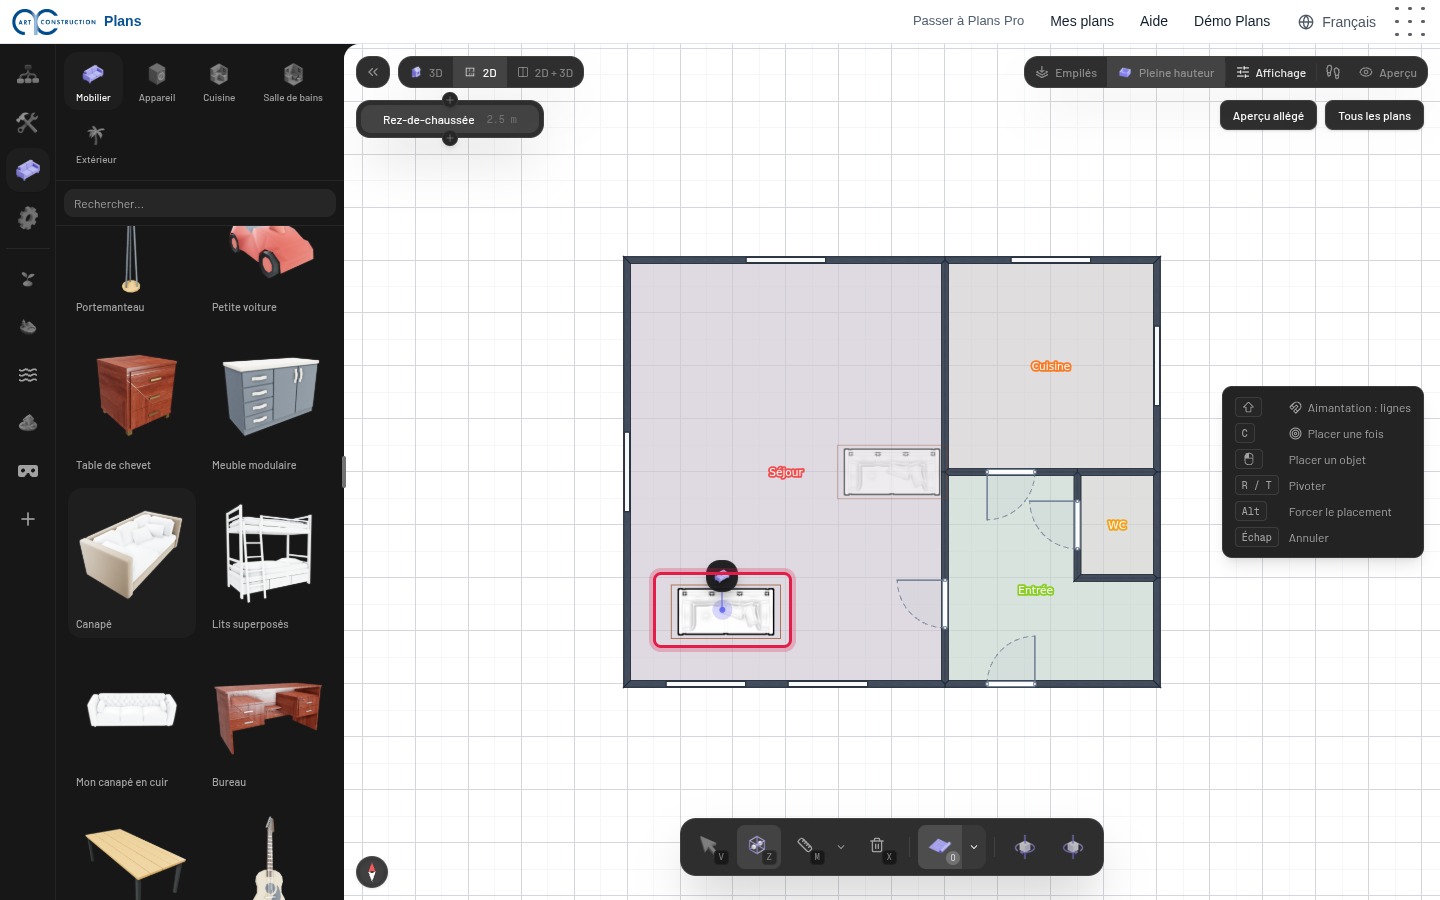
26Furnish the ground floor
Add the table, armchairs, kitchen, fridge, WC and washbasin.
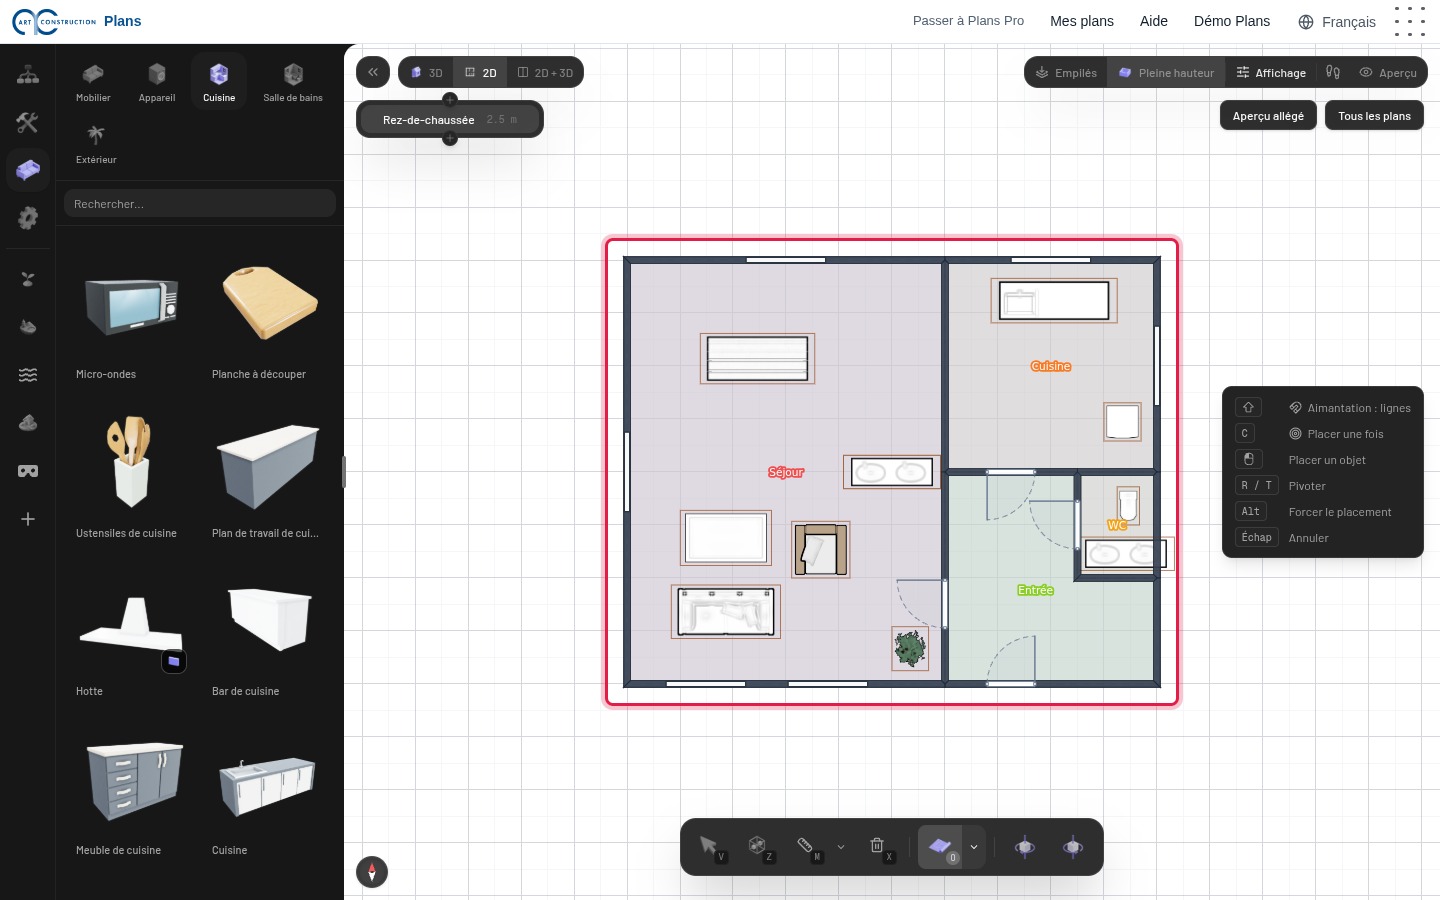
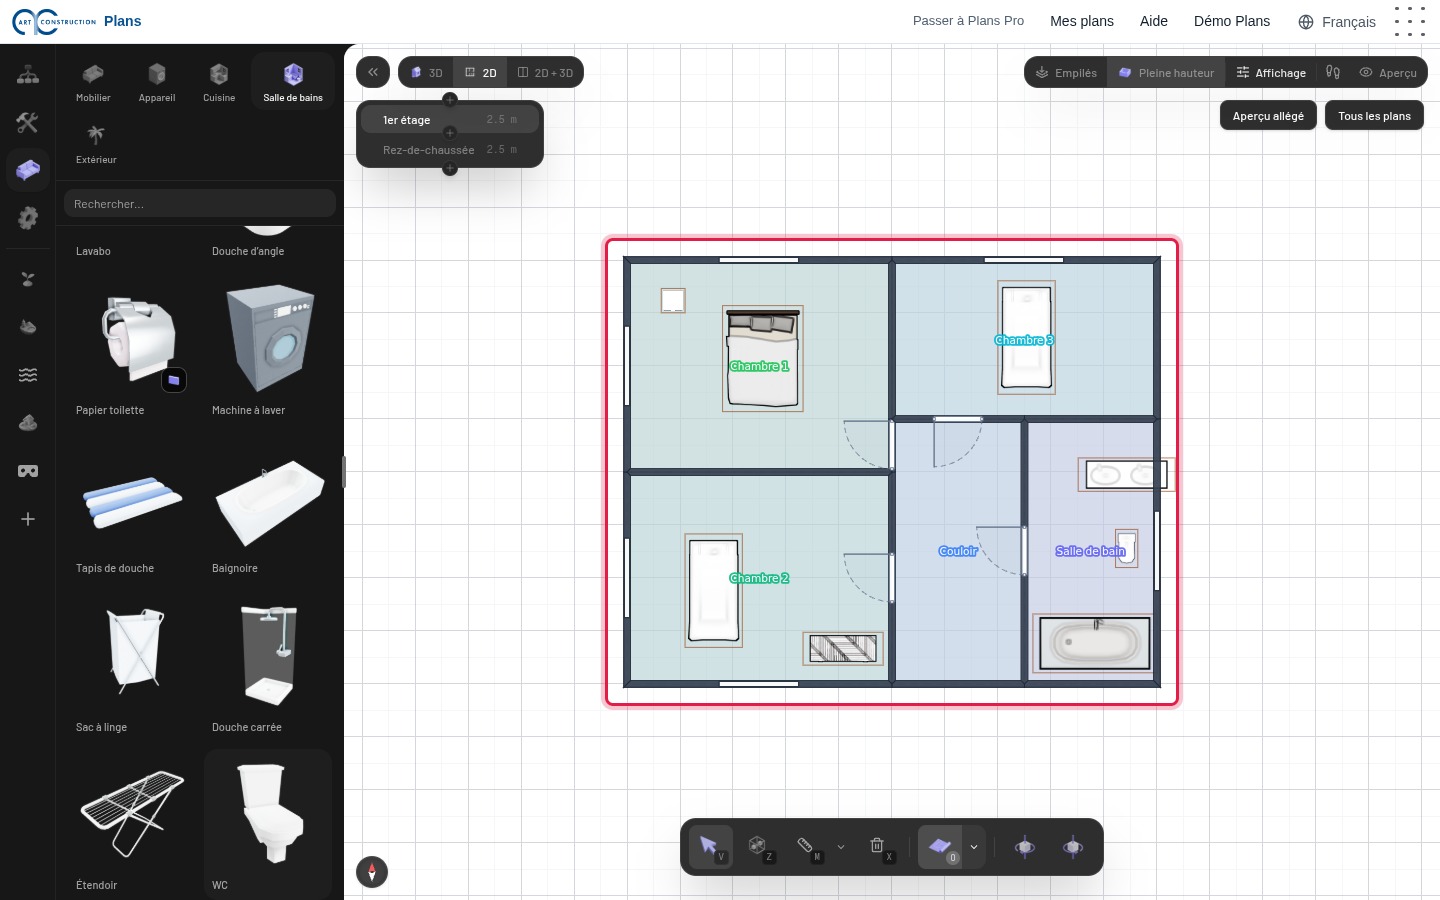
27Furnish the upper floor
Upstairs: a double bed, two single beds, a desk, a bathtub, a washbasin and a WC.
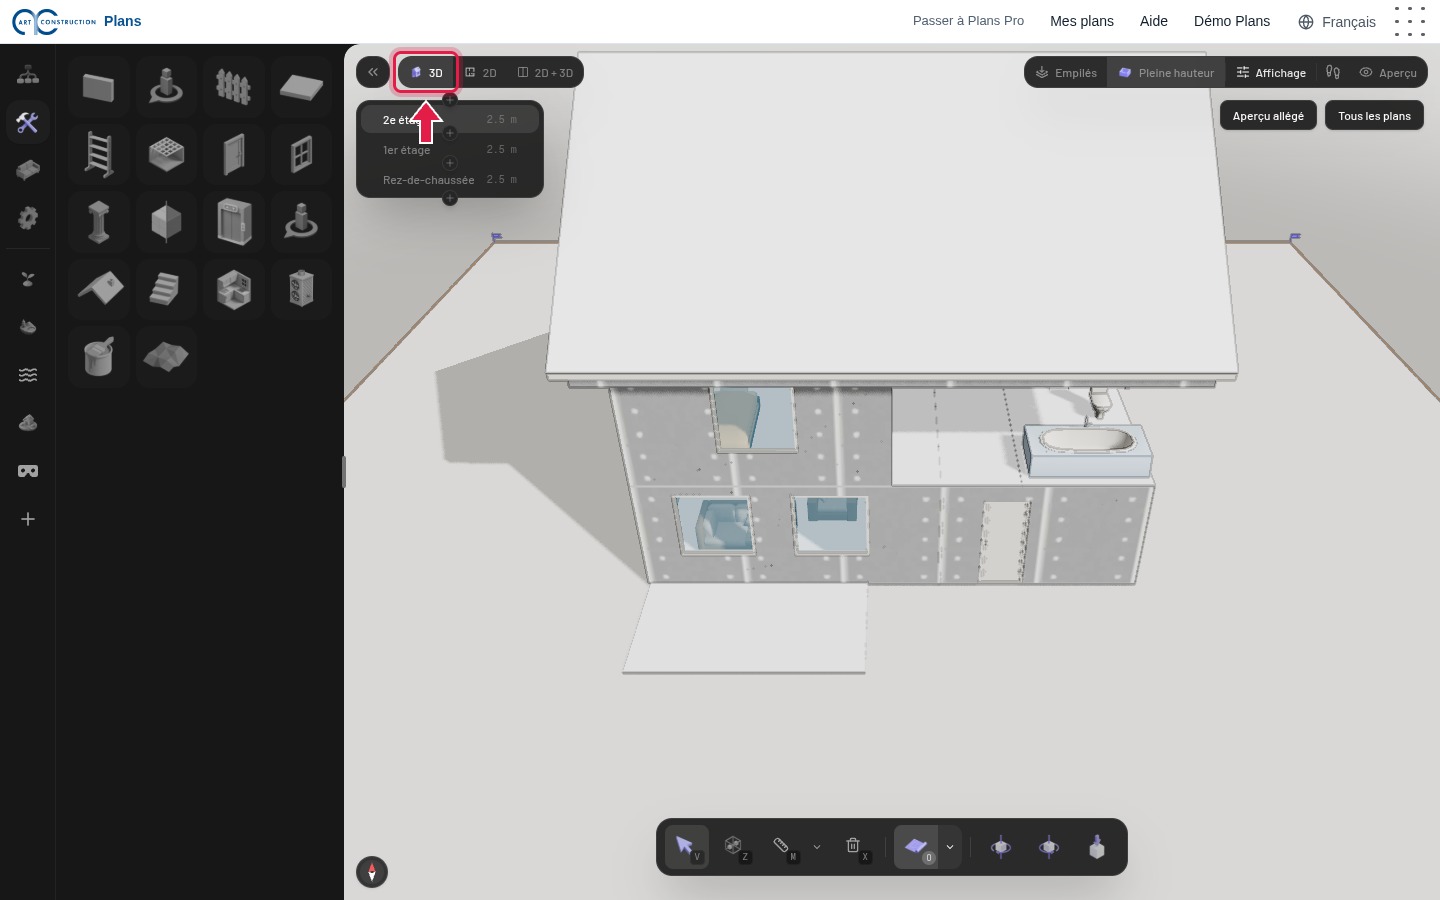
7. The 3D view
28Switch to 3D
Click 3D at the top. The house appears in 3D, with its floors, roof and furniture.
29Turn and zoom
Hold down the right mouse button and move the mouse to turn around the house. The wheel zooms. To move the view, use the middle button, or the space bar with a left click.
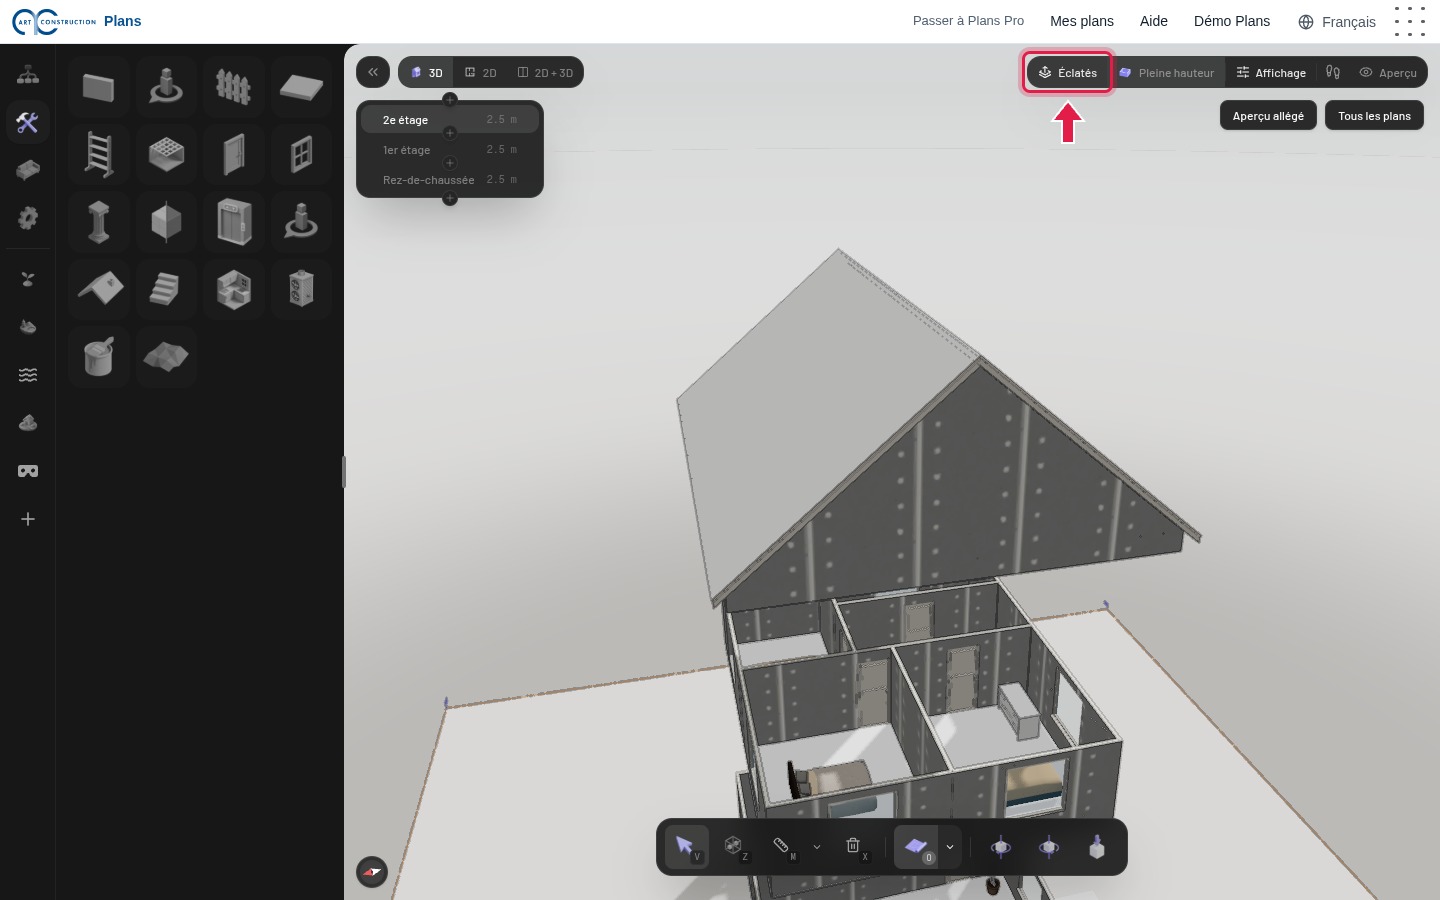
30See the floors apart
The Stack button, top right, changes how the floors are shown: Exploded spreads them apart so you can see inside, Solo shows only the active floor.
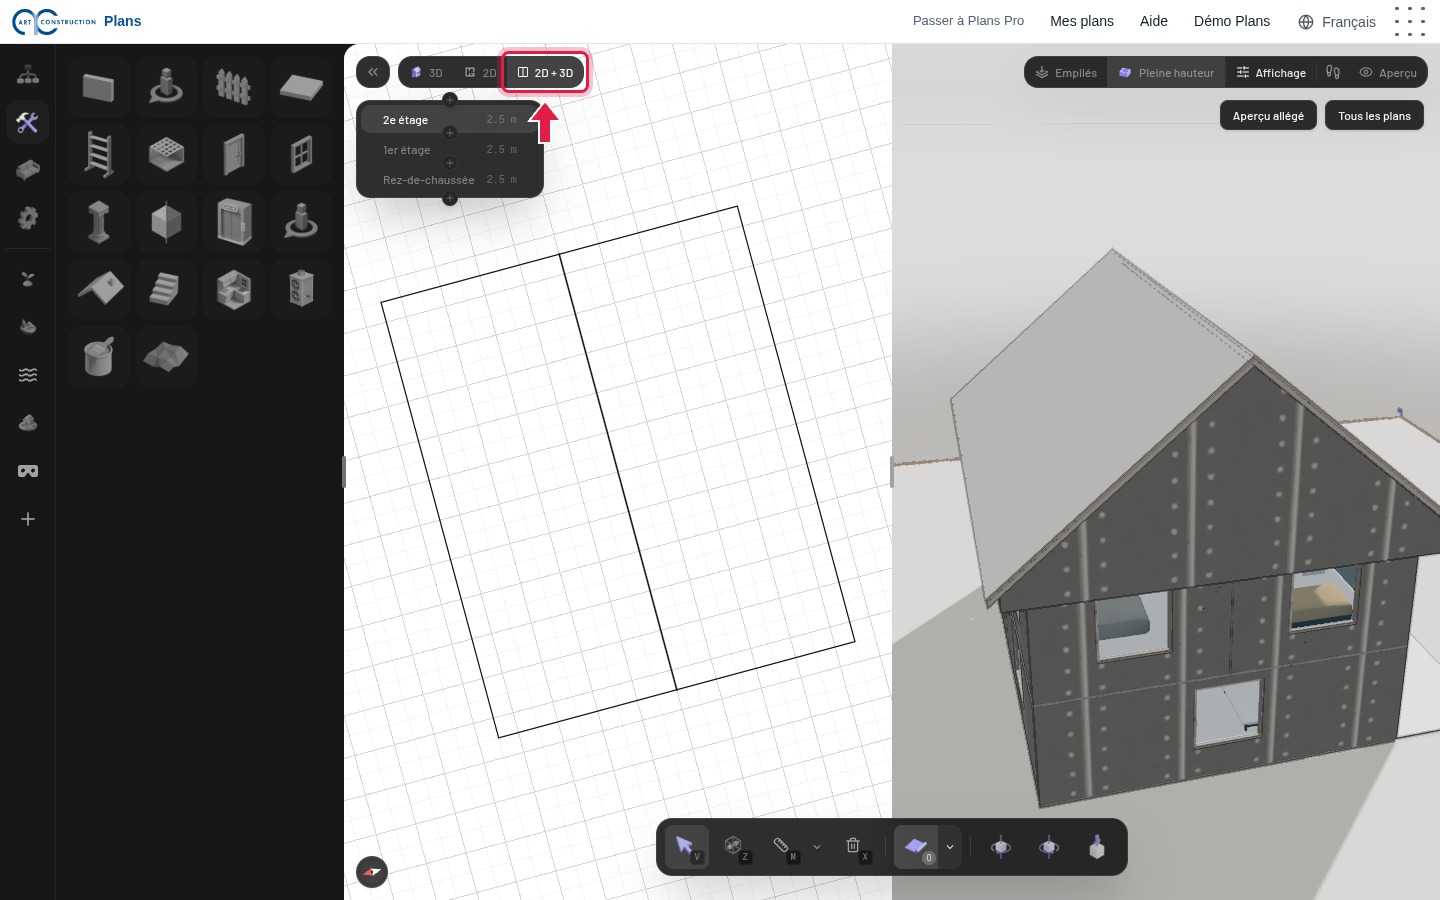
312D and 3D side by side
The Split button shows the plan and the 3D at the same time. The Walkthrough button (footsteps icon, top right) lets you walk through the house; Esc exits.
8. Save and find your plans
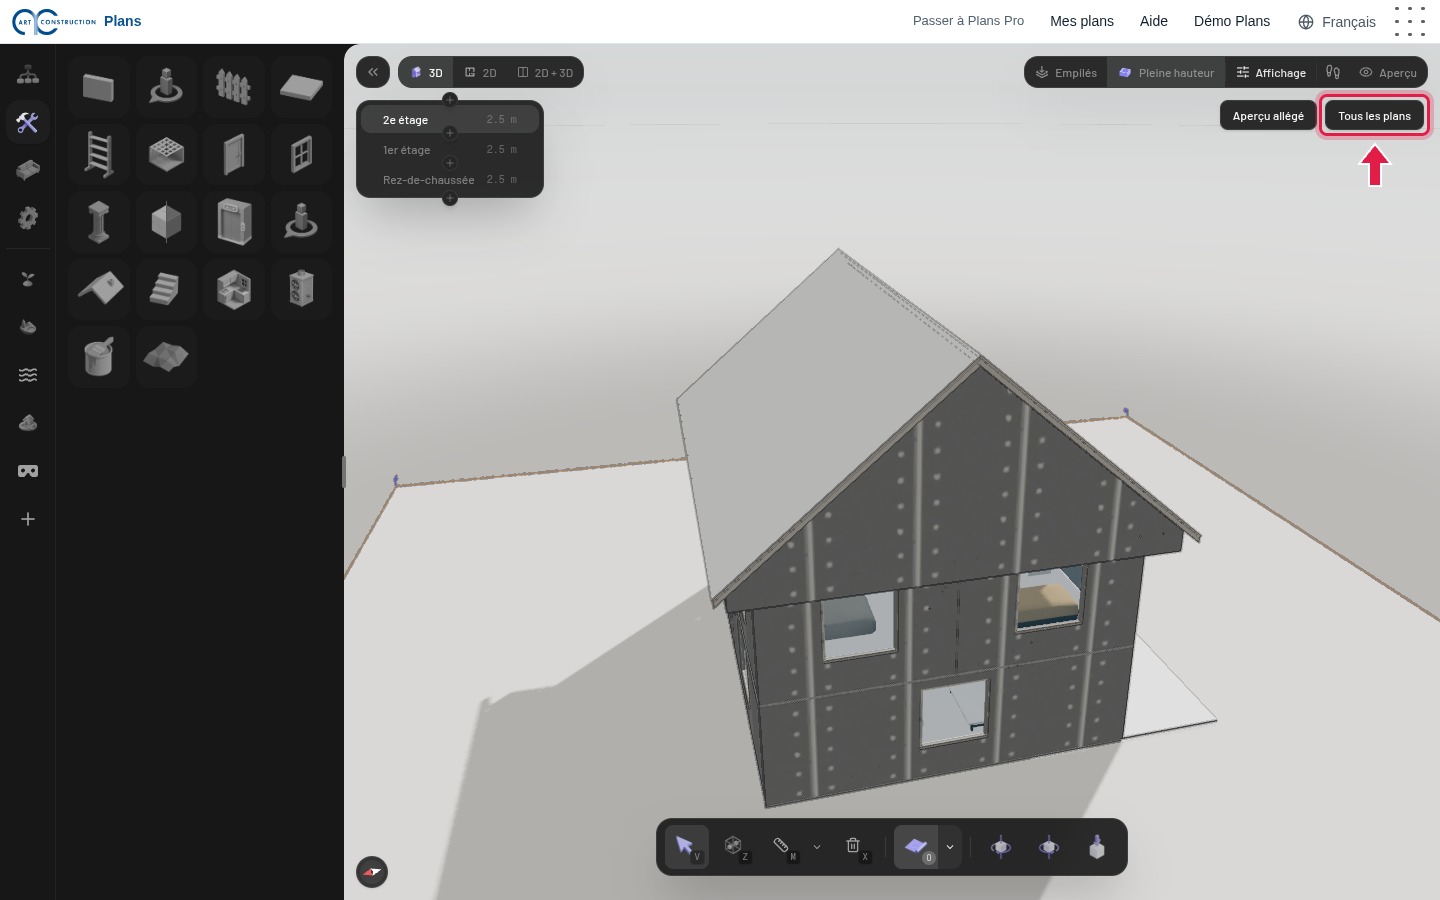
32Automatic saving
When you are signed in, Plans saves every change automatically; Ctrl + S saves right away. The All scenes button takes you back to the list.
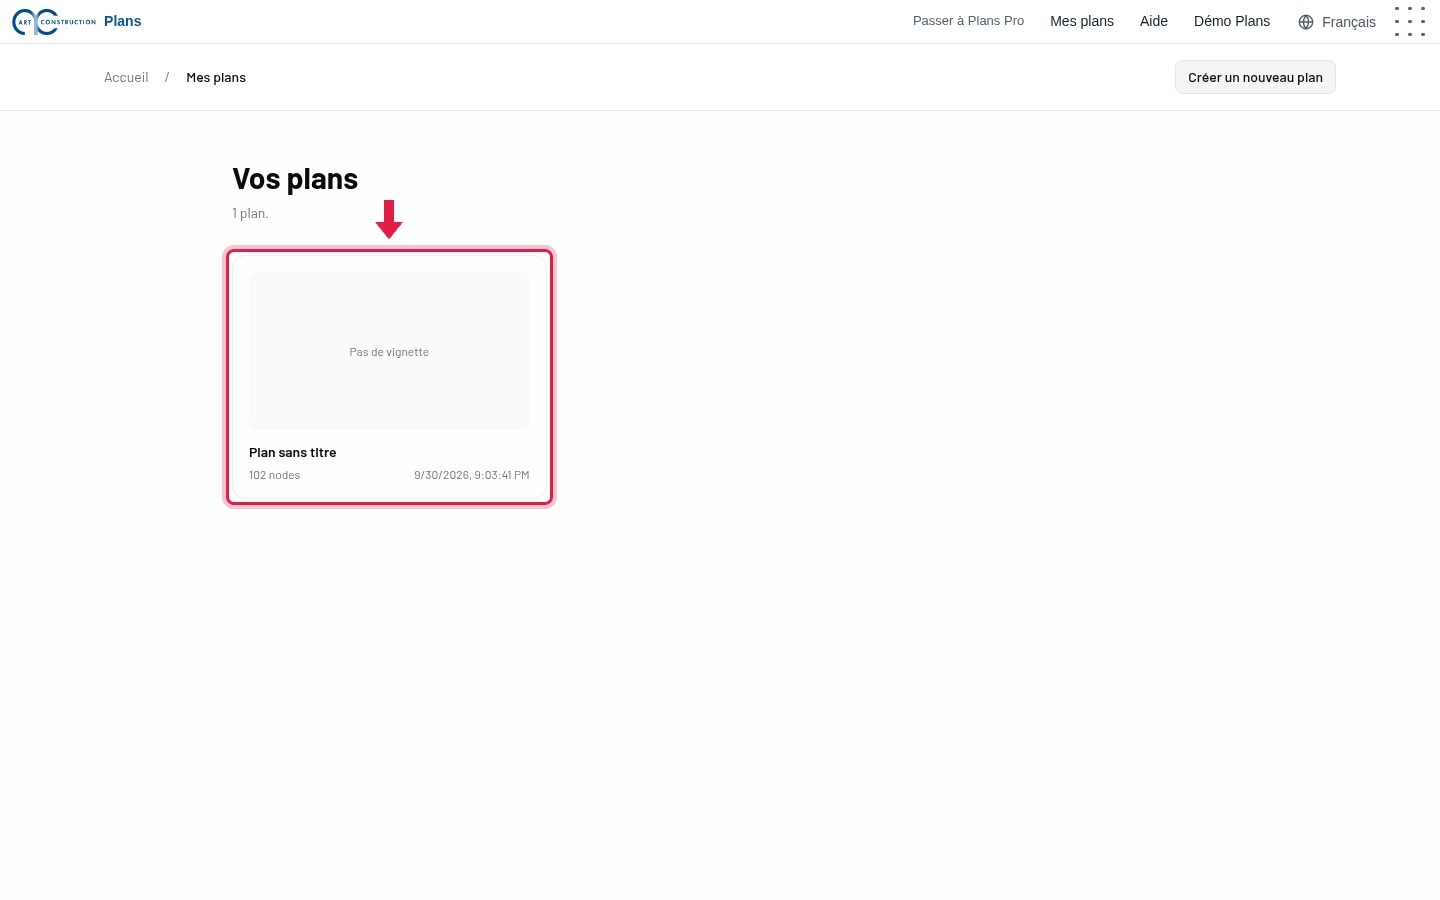
33The list of your plans
All your plans are in My plans. Click a plan to open it again, from any computer.
9. Export and print
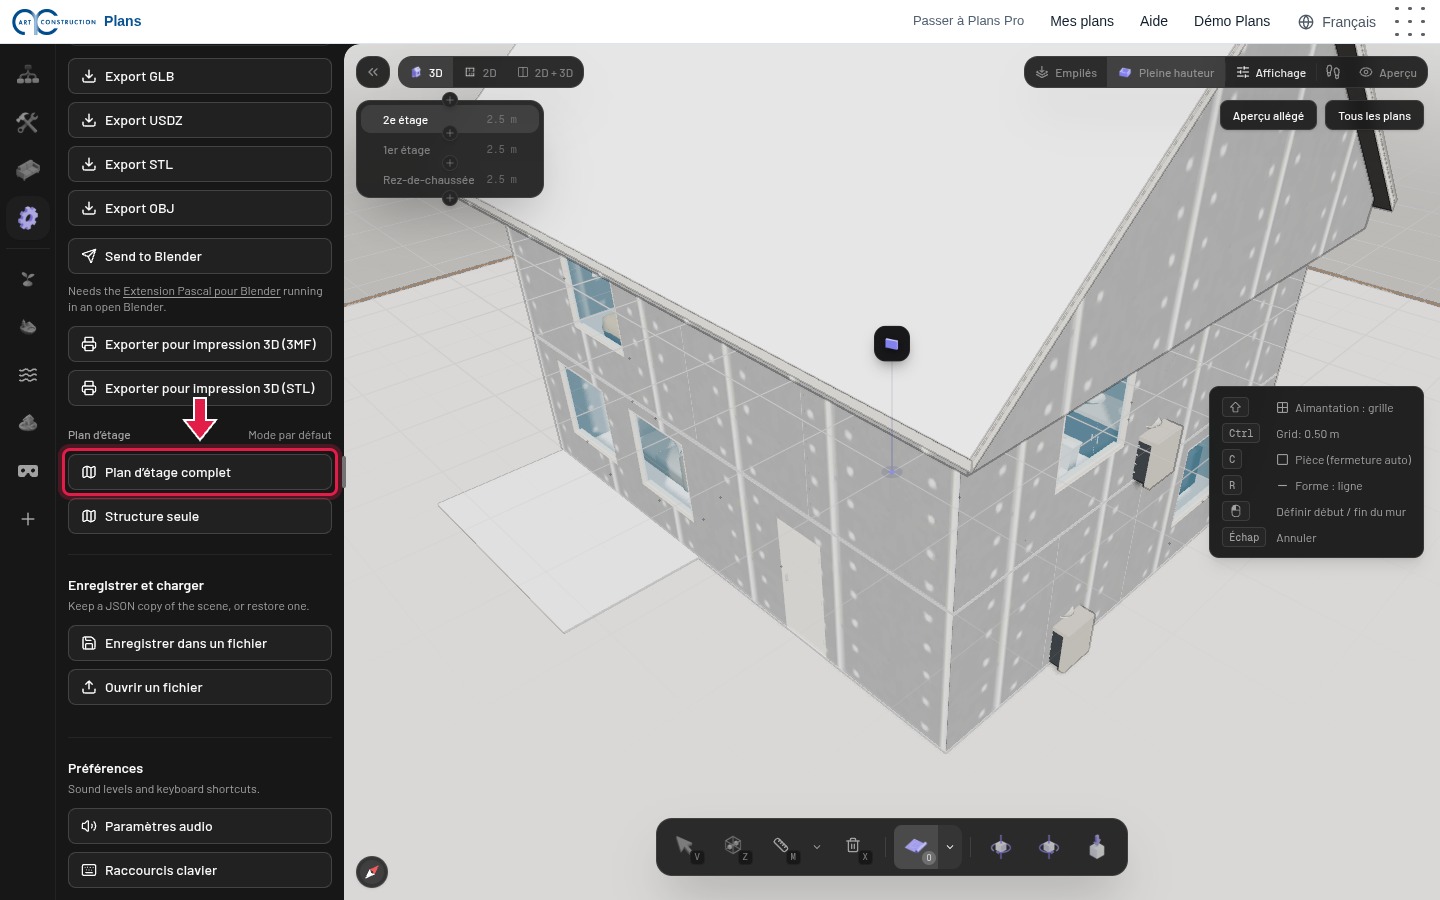
34The plan as a PDF
Open the Settings tab. Under “Export”, Full floor plan downloads the plan as a PDF, ready to print. Structure only gives the walls without the furniture. Plans also offers 3D models (GLB, USDZ, STL, OBJ) and 3D printing (3MF, STL).
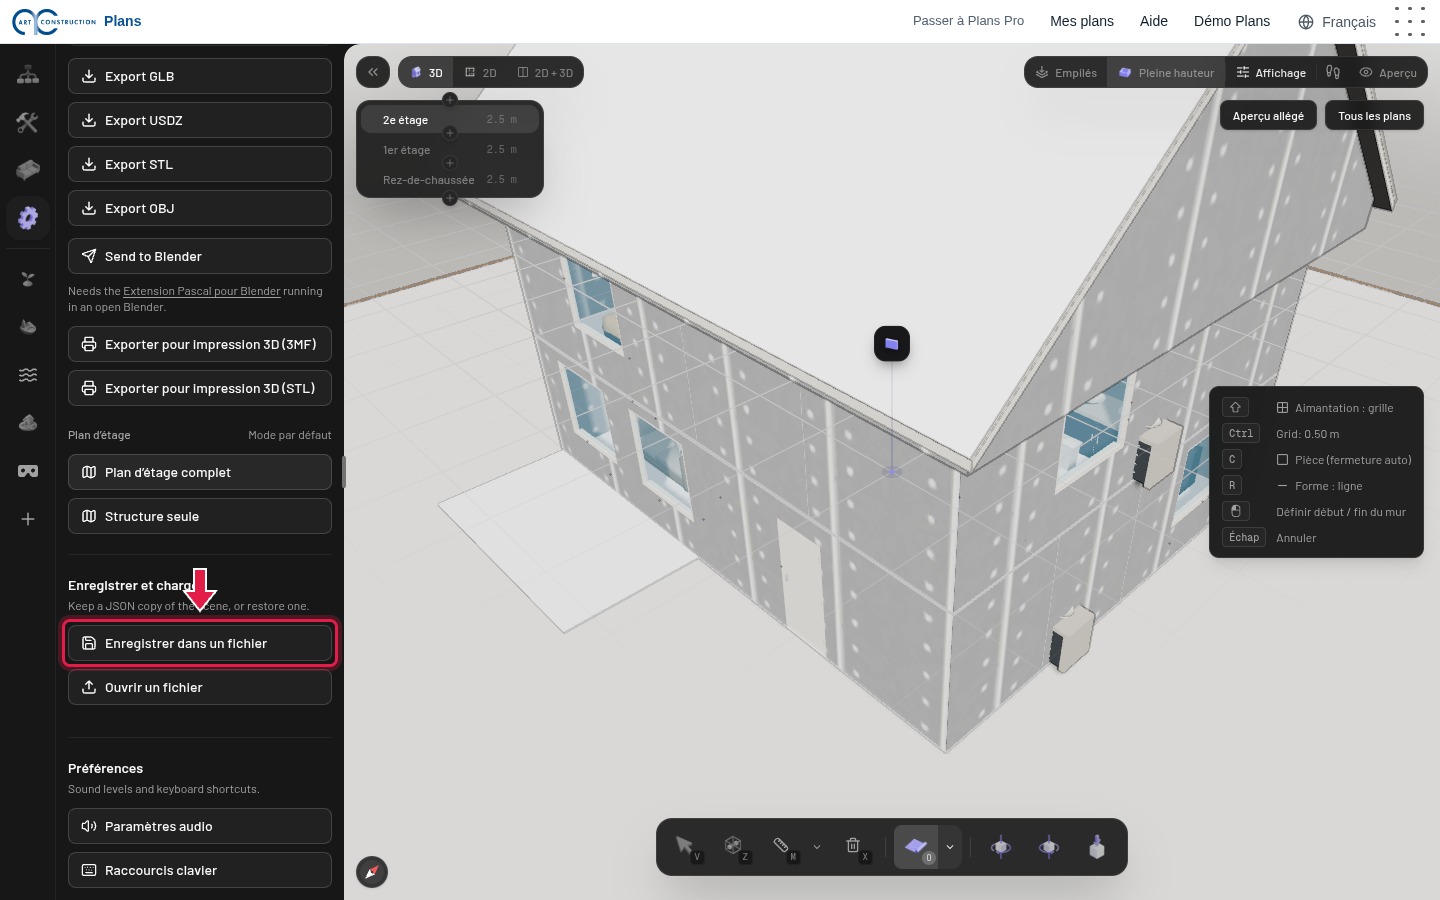
35A copy on your computer
Save build downloads the whole plan as a file; Load build opens it again. This is also how you put a plan drawn without signing in into your account.
Example file: House plan (PDF)
10. Good to know
- A new plan is always called “Untitled scene”: it cannot be renamed yet.
- The “My plans” list does not show a preview of the plans yet.
- Ctrl + Z undoes the last action; the list of all shortcuts is in Settings › Keyboard shortcuts.
- 3D needs a recent browser (Chrome, Edge or Safari); on an older computer it can be slow.
- Some minor labels in Plans are not yet translated into every language.
A question? Send a request to support.